Wagon Engine Swap

With 195,000 on the 1.8L, the coolant started disappearing (not onto the ground) and the transmission was sounding clunky, so I decided it was a good time to do an engine and trans swap. I’ve had a TBI 2.0L junkyard setup with around 90k on it in storage for years that was once a replacement for the high mile original Sunbird we had. I pulled the head that was on it to check it out and it was cracked, so I swapped a rebuilt 92-94 head along with an EFI intake setup and topped it off with a 20SEH cam. The TBI pistons have zero deck clearance and a 12cc dish, and this rebuilt head has 41cc chambers, bringing compression to about 9.3:1.

I took about a day for each major step: disconnecting everything, pulling the engine, dropping in the new engine, and reconnecting everything. Thanks to the help of some friends, it all went pretty smoothly and it was up and running within a week. A little Megasquirt tuning and it was back to daily driver duties.

Gravel driveways are not ideal for engine swaps.

Going from the 1.8 to the 2.0 plus the cam really made a huge difference. Directly comparing the 93 Sunbird 2.0 (which has higher compression, stock cam, and a mildly ported head) to this engine, it is significantly quicker. The 1.8 on the other hand, really had to be flogged to get going and with a full load like on the 2000 mile road trip, it actually struggled to make it up some of the big hills. The new engine will even spin the tires, and the power doesn’t die off up high. The 20SEH cam is really nice; I had tried one a long time ago in the green car, but with no way to tune for it and because it ate itself due to no oil, I didn’t really get a good chance to put it through its paces.

The only issue I’ve had is the 16 pound injectors from the stock 93 engine aren’t quite up to the task and will hit 100% duty cycle at wide open. I band-aided them for now by cranking up the fuel pressure, but I may have to put in some bigger ones at some point.

More displacement.

Anyway, something I wish I had done a long time ago, but it’s hard to justify when the engine in there was running fine, not to mention the work and time involved.

Posted in 1986 Buick Skyhawk wagon | Leave a comment

Roots Radical : AMR500 Supercharger

Sometimes you take on a project that you think is going to be great, but it turns out it just isn’t. This is one of those failed projects. Chronologically, I did this right before the EFI swap. The AMR500 is a small roots supercharger that can be found cheap, in this case on Amazon. Because it’s small, it fit right into an opening in the engine bay and could run off the v belt where the AC normally would go. With some creative bracket, tubing, and bonnet fabrication, a big TBI injector and some sealing it was ready to fire up. Ok, that’s grossly simplified, it took quite a bit more effort, but I’m not going to get too far into it.

AMR500 setup

After getting everything hooked up and firing it up, it did surprisingly move some air. I had looked up some videos of people who had put them on various vehicles and something you can’t get through a video is just how loud this thing is. It literally hurt my eardrums. It has two straight-cut 8-shaped rotors, which I think is a big part of the noise. I also had trouble getting the TBI to seal up because believe it or not, it wasn’t designed with forced induction in mind! Those two things were pretty much the nails in the coffin. I couldn’t imagine daily driving it with the noise, so I decided to scrap the project and go a different route instead of putting more time into it. It was fun and educational, but just not practical.

Posted in 1986 Buick Skyhawk wagon | Leave a comment

EFI and Road Trip

Throttle Body Rejection (TBI to EFI Swap)

This project started when I found a 1.8 turbo port injected intake for sale several years ago, and started slowly piecing things together for an eventual swap after that. Since all the factory supporting parts aren’t that easy to find, I just started fabricating everything else needed and used what was laying around. Modifications include Sunbird fuel injectors and fuel rail, machined brackets for the new rail, a stainless bracket to mount the MAP sensor, stainless injector bung bolts, a fabricated bent stainless throttle and tv cable bracket, AN line adapters for fuel feed and return, and a modified fuel pressure regulator. This all also wouldn’t work without the serpentine belt system swap I did shortly beforehand, which I’ll detail briefly below. Also new air intake tubing and filter which sits above the carbon canister location. Added a wire for the second bank of injectors, a few changes in Tunerstudio and it was up and running with four injectors instead of one. It feels a little smoother, and (I think) looks so much better than the TBI setup.

efi > tbi

As for the serpentine conversion, manually adjusting the belts all the time got old, and all the parts from a later model 2.0 bolted right up. Swapped from a 12si to cs130 alternator with an adapter harness, also a GM type2 power steering pump, modified pulley, a custom support bracket because the 2.0 and 1.8 intakes are a little different, and that’s about it. Easy belt changes and no adjustments have made it well worth it.

Road Trip !

I always thought it would be fun to take the car on a big road trip, so I loaded up the family and went for it. Getting a 35 year old car ready for a 2000 mile road trip did take some doing, and it wasn’t without its pitfalls either. For me, that was part of the fun and challenge of it. Incidentally I think I may have been the only one with that mentality.

Several months ahead of time, a long list had been made for all the work I needed to try and complete to the car before the trip. Everything from children’s cupholders for the back seat to mechanical work. I’m not going to go into everything, but like most long lists, some things got dropped, some things I ran out of time for, but most of the things were completed and helped smooth along the trip. Here are the major items: factory rear springs to support the many extra pounds, new radio and speakers, quieter muffler for the long ride, roof rack and carrier for luggage, and a sealed beam to led conversion for better visibility. The other important list was of every possible part and tool I could think of and then find space for to bring along for when things went sideways…

Part 2 : When Things Go Sideways.
The trip was split up into four 500 mile sections. After going through some heavy rain during the first leg, the car developed some pretty obnoxious belt squeal. I noticed that my power steering pulley wasn’t quite concentric and thought that may be contributing to the problem, so I pulled it off after we reached the halfway destination, grabbed a hammer, and proceeded to true it up by strategically whacking it. Shockingly, this worked really well and it ended up nice and concentric. Moving on.

500 miles later, when we were entering the town of our destination visiting friends, it started to shift funny and ended up stalling at a stoplight after not downshifting. I manual shifted it a few more miles to get there and then started looking around. The whole underside was soaked in auto trans fluid, and from where it was I was guessing the circa 1986 pan gasket had given up. So I got one ordered from the local parts store, picked it up the next day with some fluid and supplies, and went to work. Then a few days later (I took my time) I had a successful test drive and we were off on the return trip!

getting the new pan gasket in

The first part went by without any trouble. Day two however, a half hour in and the car started hesitating hard and losing power on the highway. So I pulled off into a park and ride lot to try and figure out what was going on. After messing around and the car not starting for a half hour, I figured out that the wiring harness connector for the coil wasn’t connecting properly. The car would start and run fine if I pushed down on it and held it there and die when I let up. Wrapped it in some gorilla tape and away we went! Don’t tell anyone, but a month later, the gorilla tape is still holding it together :).

Overall, it was a fun experience, if a little tense at times. It was spacious and comfortable enough for the four of us and everything we needed, and got us there and back. It got some interesting comments along the way too. Now I just need some more power for the big hills and extra weight.

Posted in 1986 Buick Skyhawk wagon | Leave a comment

Wagoning.

It’s hard to believe it’s been over two years since an update. The wagon is still daily driving and has been great; no real problems at all. It still gets attention and is fun to drive. My favorite comment lately is, “that’s the hottest wagon in [state].” Hilarious.

Megasquirt:
The setup:
my very old MS1 pcb3.0 (this is the third car I’ve set it up for)
Raspberry Pi 3b running Debian and Tunerstudio
7″ display for the Pi
Wireless mini keyboard/touchpad to make changes

It’s been running on Megasquirt since Sept. of ’18 and I’ve had no problems with it, except the coolant temp sensor died once. It was very easy to figure out the problem because I could see exactly what it was doing through Tunerstudio, which is one of the things I love about MS. Being able to tune it has really made it a lot more drivable and enjoyable. I had a list of random odd problems with the original ecu and it never seemed happy or responsive, so that’s all gone now. It isn’t a perfect tune since I just am going by seat of the pants, but it feels good and I’m happy with it.

Operation Duration:
The setup:
1.8L turbo cam (Sealed Power CS784)

Also known as the higher duration cam swap. This was one of my goals for after I was able to tune the car, since it would benefit from it after swapping in a better cam. I’ve been running the new cam since Dec. of ’19 and it’s added a noticeable amount of breathing to the engine. Well worth the approximately $50. The change in longer duration took a little tinkering to get the car idling well again, but all went well after that. The rocker tool I made and detailed in another post came in handy as usual. Speculative specifications on the cams below (advertised durations are estimates.) The numbers at .050 and lifts are likely accurate, but some sources vary slightly. Either way, duration is going from 202 to 223 at .050, which is a healthy jump. There are bigger ones out there, but I chose this one mostly because it isn’t much more lift, not knowing how much I could get away with.

1.8L na (1982-1986 GM L4 1796cc)
intake duration @ .050 inch lift = 202 (adv 247)
exhaust duration @ .050 inch lift = 201
lift .408 intake (.240)
lift .4106 exhaust (.239)
estimated advertised duration of 256

1.8L turbo
intake duration @ .050 inch lift: 223 (adv 270)
exhaust duration .050 inch lift: 223 (adv 265)
lift .417 int (.245) or .427 (.251) [varying info]
lift .421 exh (.247) or .430 (.253)
centerline 123
estimated advertised duration of 270

In progress:
Going back to previous updates I had mentioned doing a turbo swap. I have changed my plans (for now) to try something a little different… I am going to leave you in suspense as to that plan and will make it a new post instead, which should not be years in the making. I will say that I have all the major parts required and about 3/4 of the fabrication is completed.

Posted in 1986 Buick Skyhawk wagon | Leave a comment

Wagon Work 2.

The latest and greatest wagon updates, which I’m going to try and keep relatively brief…

What’s been going on? (since the last update)
It’s not a SOHC without a cracked cylinder head and blown head gasket! Just like all the others, coolant started disappearing and I had to rebuild the top end with a new head and gasket. I think the cracked head was contributing to some of the running problems from the last update as well. Was down for almost a month but have been daily driving since.

Chipped away some more at the Megasquirt project. Did some preliminary tuning, needed an idle valve, exploded a capacitor. Had to call in an electronics expert friend and his oscilloscope to help get my idle valve working. So this is a step because it’s actually run on the MS, but just start and idle work so far. Hey it’s something.

Gas tank sprang a leak after the new fuel pump so had to put in another one.

Made a gauge panel for wideband, water temp, rear defrost, fan switch, usb power and cig outlets. Mounted a 7″ monitor to display my Raspberry Pi 3 which is running Tunerstudio.

Foreshadowing: Rebuilt a turbo. Did some work on setting up a port injected intake, bought a throttle body for it 🙂 more on that below.

What are the current projects?
Working on replumbing my Ford idle air because the first setup wasn’t working. It would suck in air when running the factory ecu and throw a code and not run right. After this I hope to finally make some real strides toward my goal of running on Megasquirt full time.

What can I expect to see here in the future? (however distant it may be)
TBI to EFI. After getting MS up and running I plan to do a cam swap and port injected EFI swap using a 1.8 turbo intake, throttle body, and 92+ 2.0 injectors. I just need some wiring and will have to figure and fab some brackets, everything else is pretty much ready to go in. Hoping to achieve a mind-numbing 100 crank horsepower from this.

Turbo. If that wasn’t enough for you, wait for it: Remote mount turbo. I intend to attempt and mount my very tiny Audi K03 turbocharger where my muffler currently lives and run a lot of lines and tubing and a small amount of boost. Because this whole project isn’t weird enough already.  So far turbo is rebuilt and stainless flanges are machined, one’s out for welding.

Transmission. Hoping to start rebuilding one of my spare TH125s soon, would like to upgrade it to handle a little more power and shift better.

Ok so …
I failed in keeping it brief. Anyway, that’s where usually-functional Project Wagon stands.

Posted in 1986 Buick Skyhawk wagon | Leave a comment

Another lump update.

Since I haven’t done an update for … over a year, I figured it was time. Again, not because I haven’t been doing anything. Well, nothing too exciting anyway, but here goes.


Wagon:

The day before moving into a new house, I decided it was a good idea to paint the wagon while I still had a garage. Which of course actually made life more difficult for moving and wasn’t the greatest idea, but it came out pretty good and is now flat baby blue. It gives that nice daily-econo-rat look I’m going for.

I have also spliced in an adapter pigtail to hook up the megasquirt, but still haven’t gotten so far as to try it out … it’s hard when you’re daily driving it mostly (except when it is being a nuisance, more on that below.)

A bunch of random items; I put in an Optima battery which was well worth it. Also after installing a new radio in a Hyundai Tucson, I got to keep the old CD player which worked fine, so I machined an adapter and soldered up a wiring harness and put that in, which is much nicer than the factory radio which didn’t work very often. I replaced my loud resonator with a quieter one. Did a new heater core. Machined up a pair of minimal aluminum roof racks with small slots for strapping things to the roof, which I haven’t done yet.

Then it proceeded to have all sorts of irritating driveability issues that I spent all summer chasing around. So it now has all new sensors, all hoses are silicone, put in a high flow (Camaro) E3210 fuel pump, new fuel injector, adjustable fuel pressure regulator and gauge, distributor, and probably more than I’m forgetting. The bottom line is I think it was a combination of a lot of things, but seems to be doing better now.

Last week the junk 400 series stainless flex pipe finally cracked and broke after being crusty and ugly for several years, so I geared up to be able to do stainless welding and ordered some 304 stainless parts. It should be up and running for the weekend…


Sunbird:

I had replaced a cracked head once in Feb. ’15, but back in July ’16, that head cracked too. Not sure why it only lasted a year, but it did. My theory is warming up the car by idling for a minute helps keep the thin webs between the valve seats from expanding and contracting too quickly and stressing. But who knows really.

Driving home on a cool day last spring, the windshield suddenly fogged up and it started to smell like coolant in the car, which of course means the heater core let go. Luckily this is one of the few cars that a heater core is really easy to replace, so naturally I bypassed it and put off doing it. I still haven’t finished it actually, but will be soon.

When the front brakes became glazed and started vibrating, I picked up the upgraded drilled and slotted rotors with carbon ceramic pad PowerStops from Rockauto, which I highly recommend – it stops amazing now.

In the works:
1. All new suspension including lowering springs. Assembled and ready to install.
2. All stainless exhaust, this time diy and using the factory manifold, no header like the other car. Parts on the way.


I am hoping to finish all this stuff up before winter and then I have plans for winter projects. But more on that another time.

Posted in 1986 Buick Skyhawk wagon, 1993 Pontiac Sunbird sedan | 2 Comments

Update.

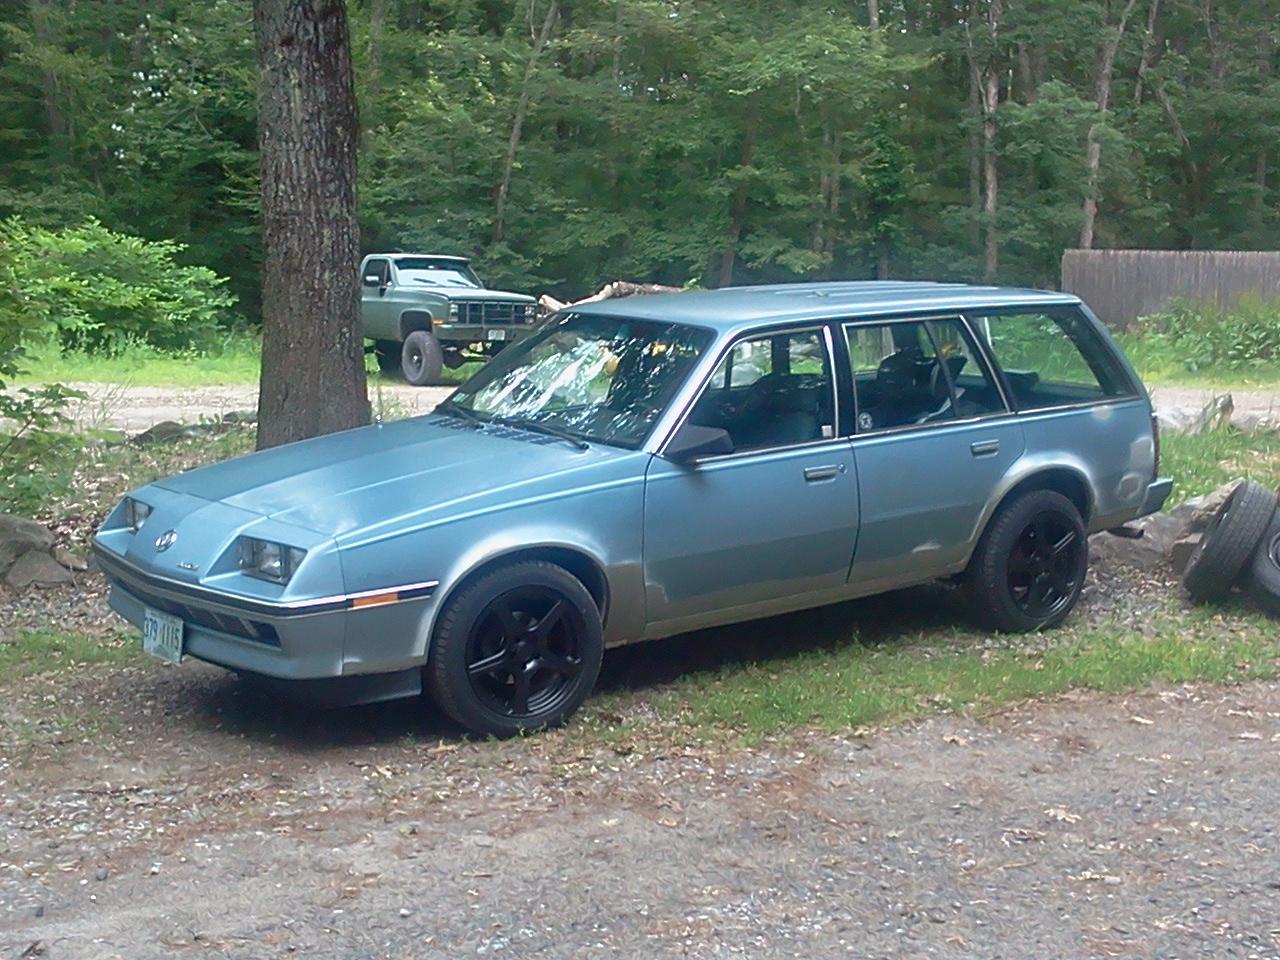
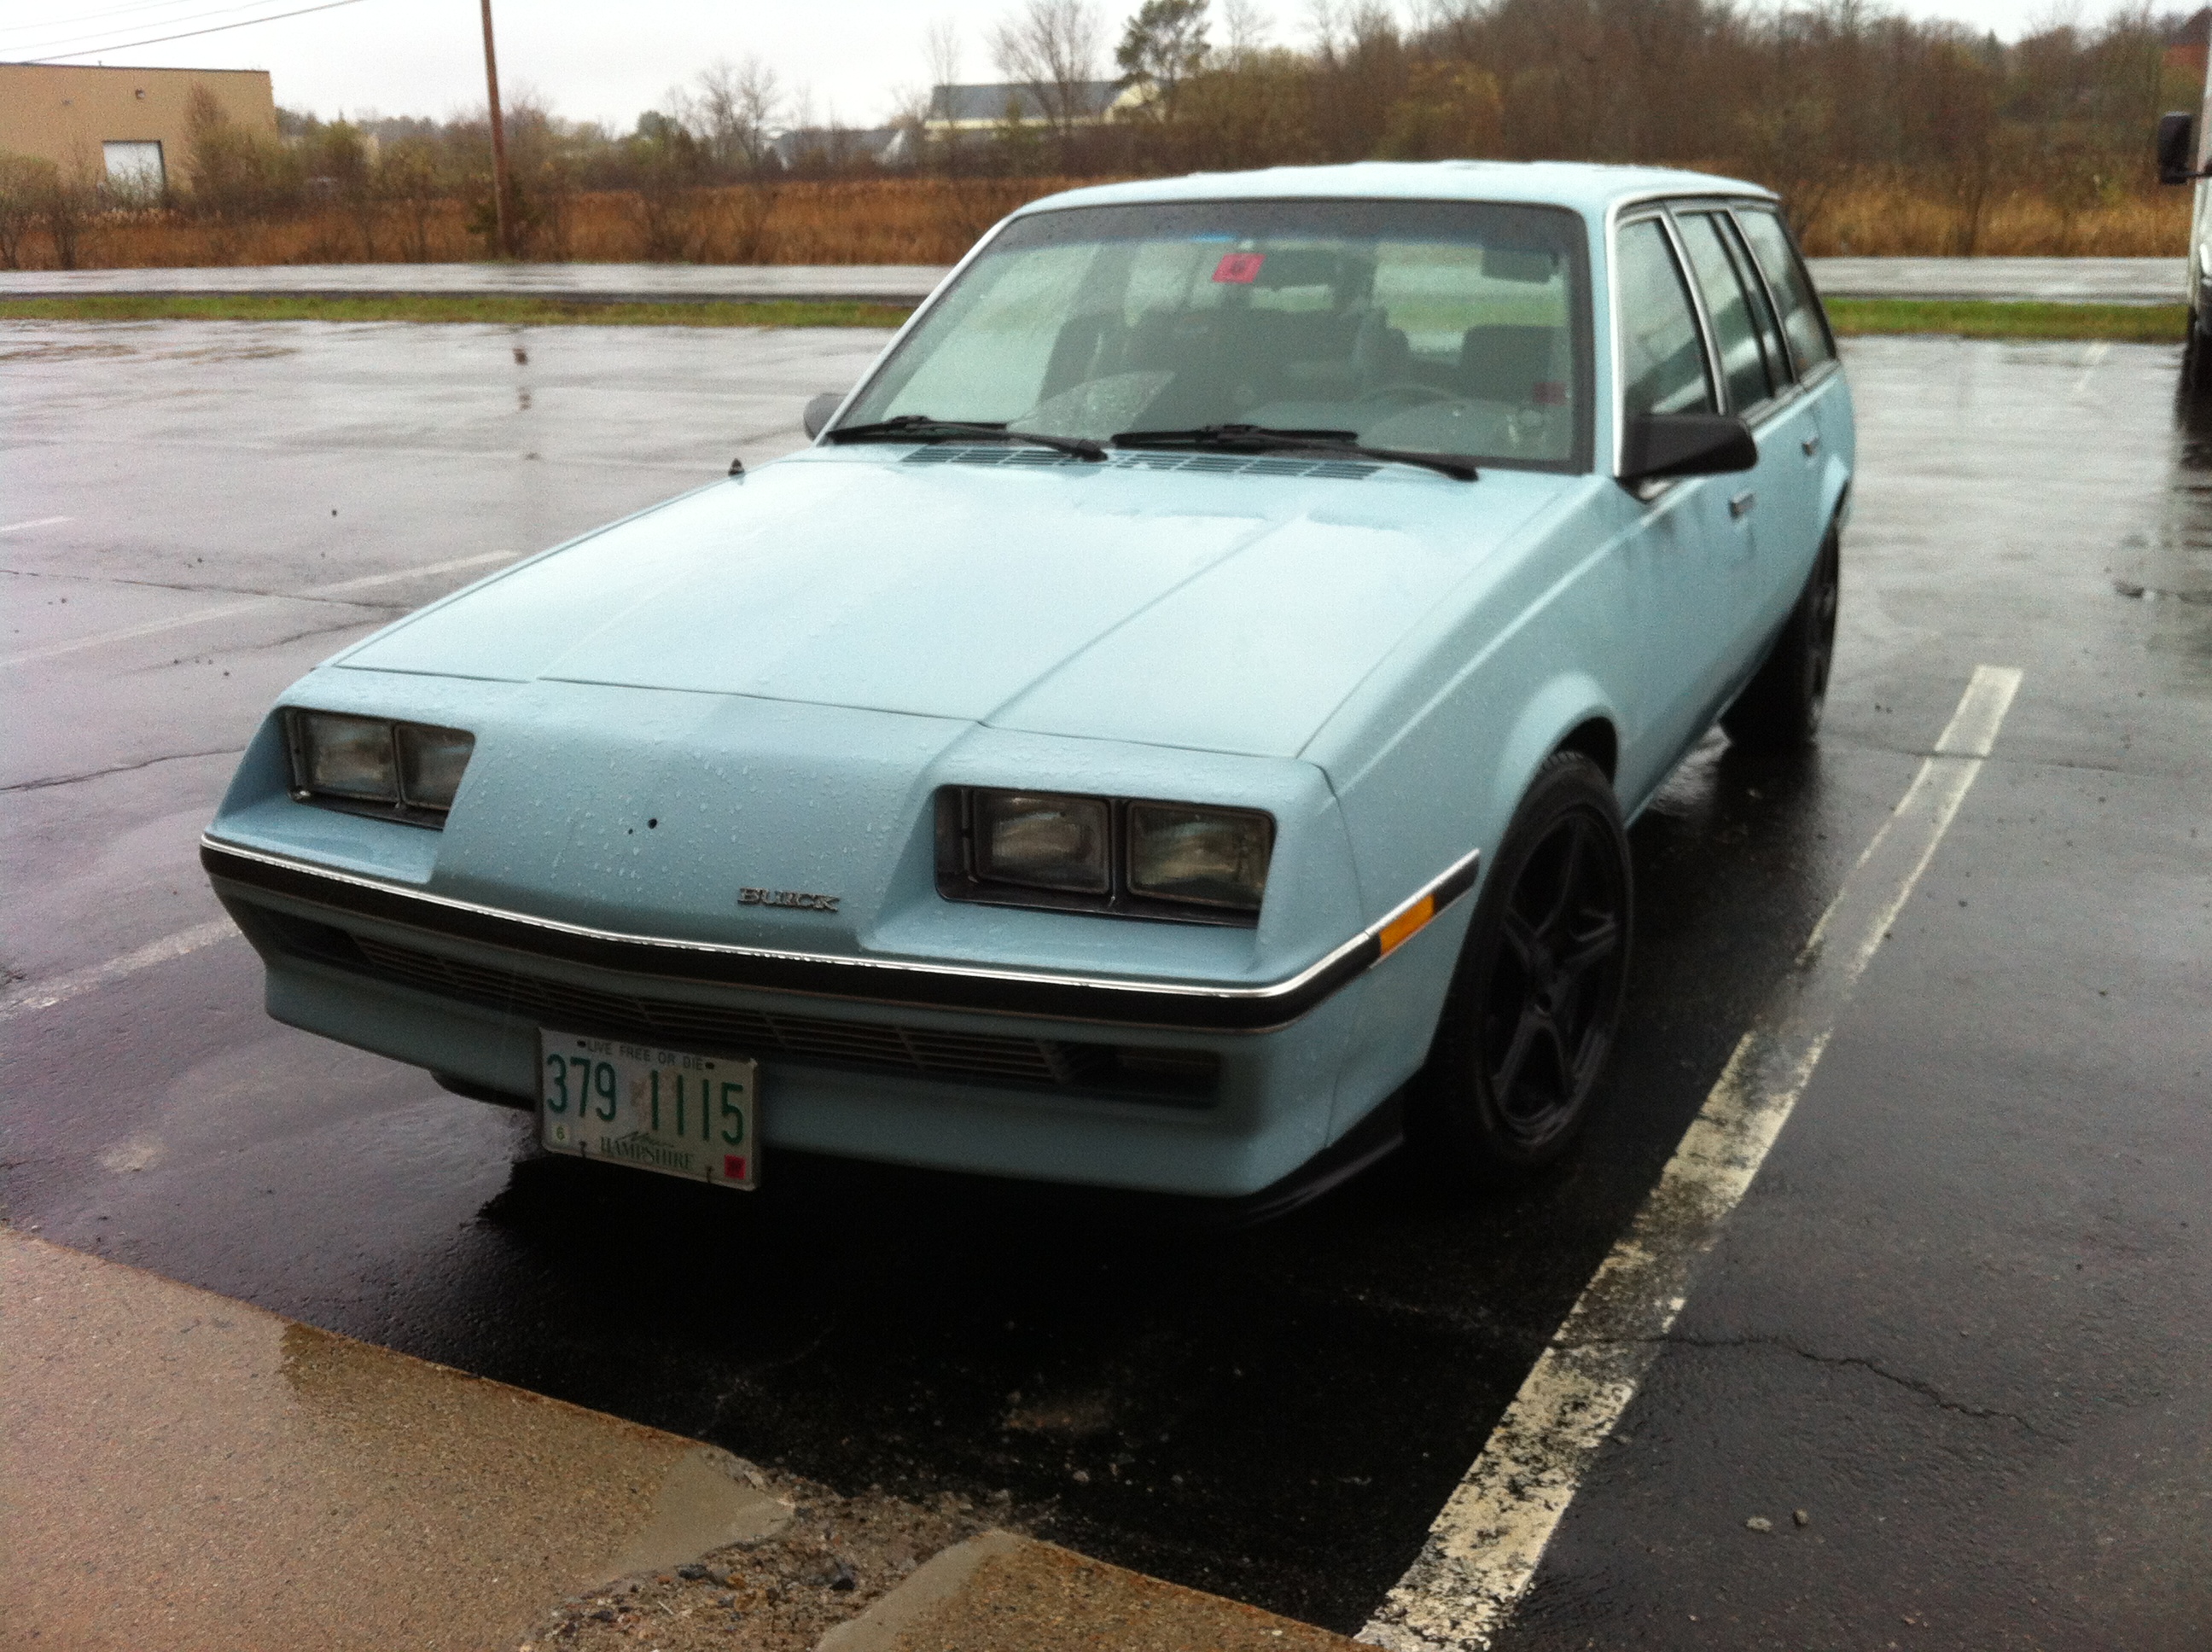
It has once again been a long time since an update, but not due to lack of goings-on. The wagon has returned to daily driver status after a lot of work over the winter and spring, which I will detail below, while adding in current projects!

2016-05-15 19.09.44Past:
What’s been done since the last update? A ton, since it’s been so long.

A lot of small things such as a modified Grand National gauge pod with water temp and oil pressure gauges on the console below the radio, tachometer mounted to windshield with a GPS suction mount, some tuneup items, bumped the timing from the original 6 degrees up to 12 which made a big difference, replaced a lot of rubber vacuum and coolant lines with silicone ones, spraying antirust wax stuff everywhere I can to preserve the body, and that’s about it in the minor department.

I’ll put the transmission mount project here in the middle of smaller and larger projects. A cheap replacement mount had already sagged and bottomed out after 1000 miles, so I decided to pull my solid mount from the Sunbird, modify it to take some polyurethane bushings (I used old but unused GN upper control arm bushings I had laying around,) and see what happened. It certainly won’t be drooping anymore, but it does also add a fair amount of vibration and some noise to the cabin, especially at lower RPM. I will keep it for now and then decide if I want to live with it or come up with something quieter. Edit: After driving it this way for a while, I think it will be fine & have gotten used to it, it’s not noiseless, but not bad at all.

2016-06-29 12.19.35

On to the bigger projects…
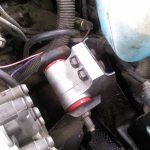
I installed a Viper 4115V remote starter over the winter to fire it up when it’s cold, but I actually still use it even now. The car has a high idle on startup, so it’s nice to give it a minute or two to settle in before taking off, so it works great for that. I soldered in all the connections and took my time with it and it works really well. The unit is tucked up by the steering column, but I need to find a way to mount it in there at some point. I have all the wiring info if it would be useful to anyone doing a first gen. J.

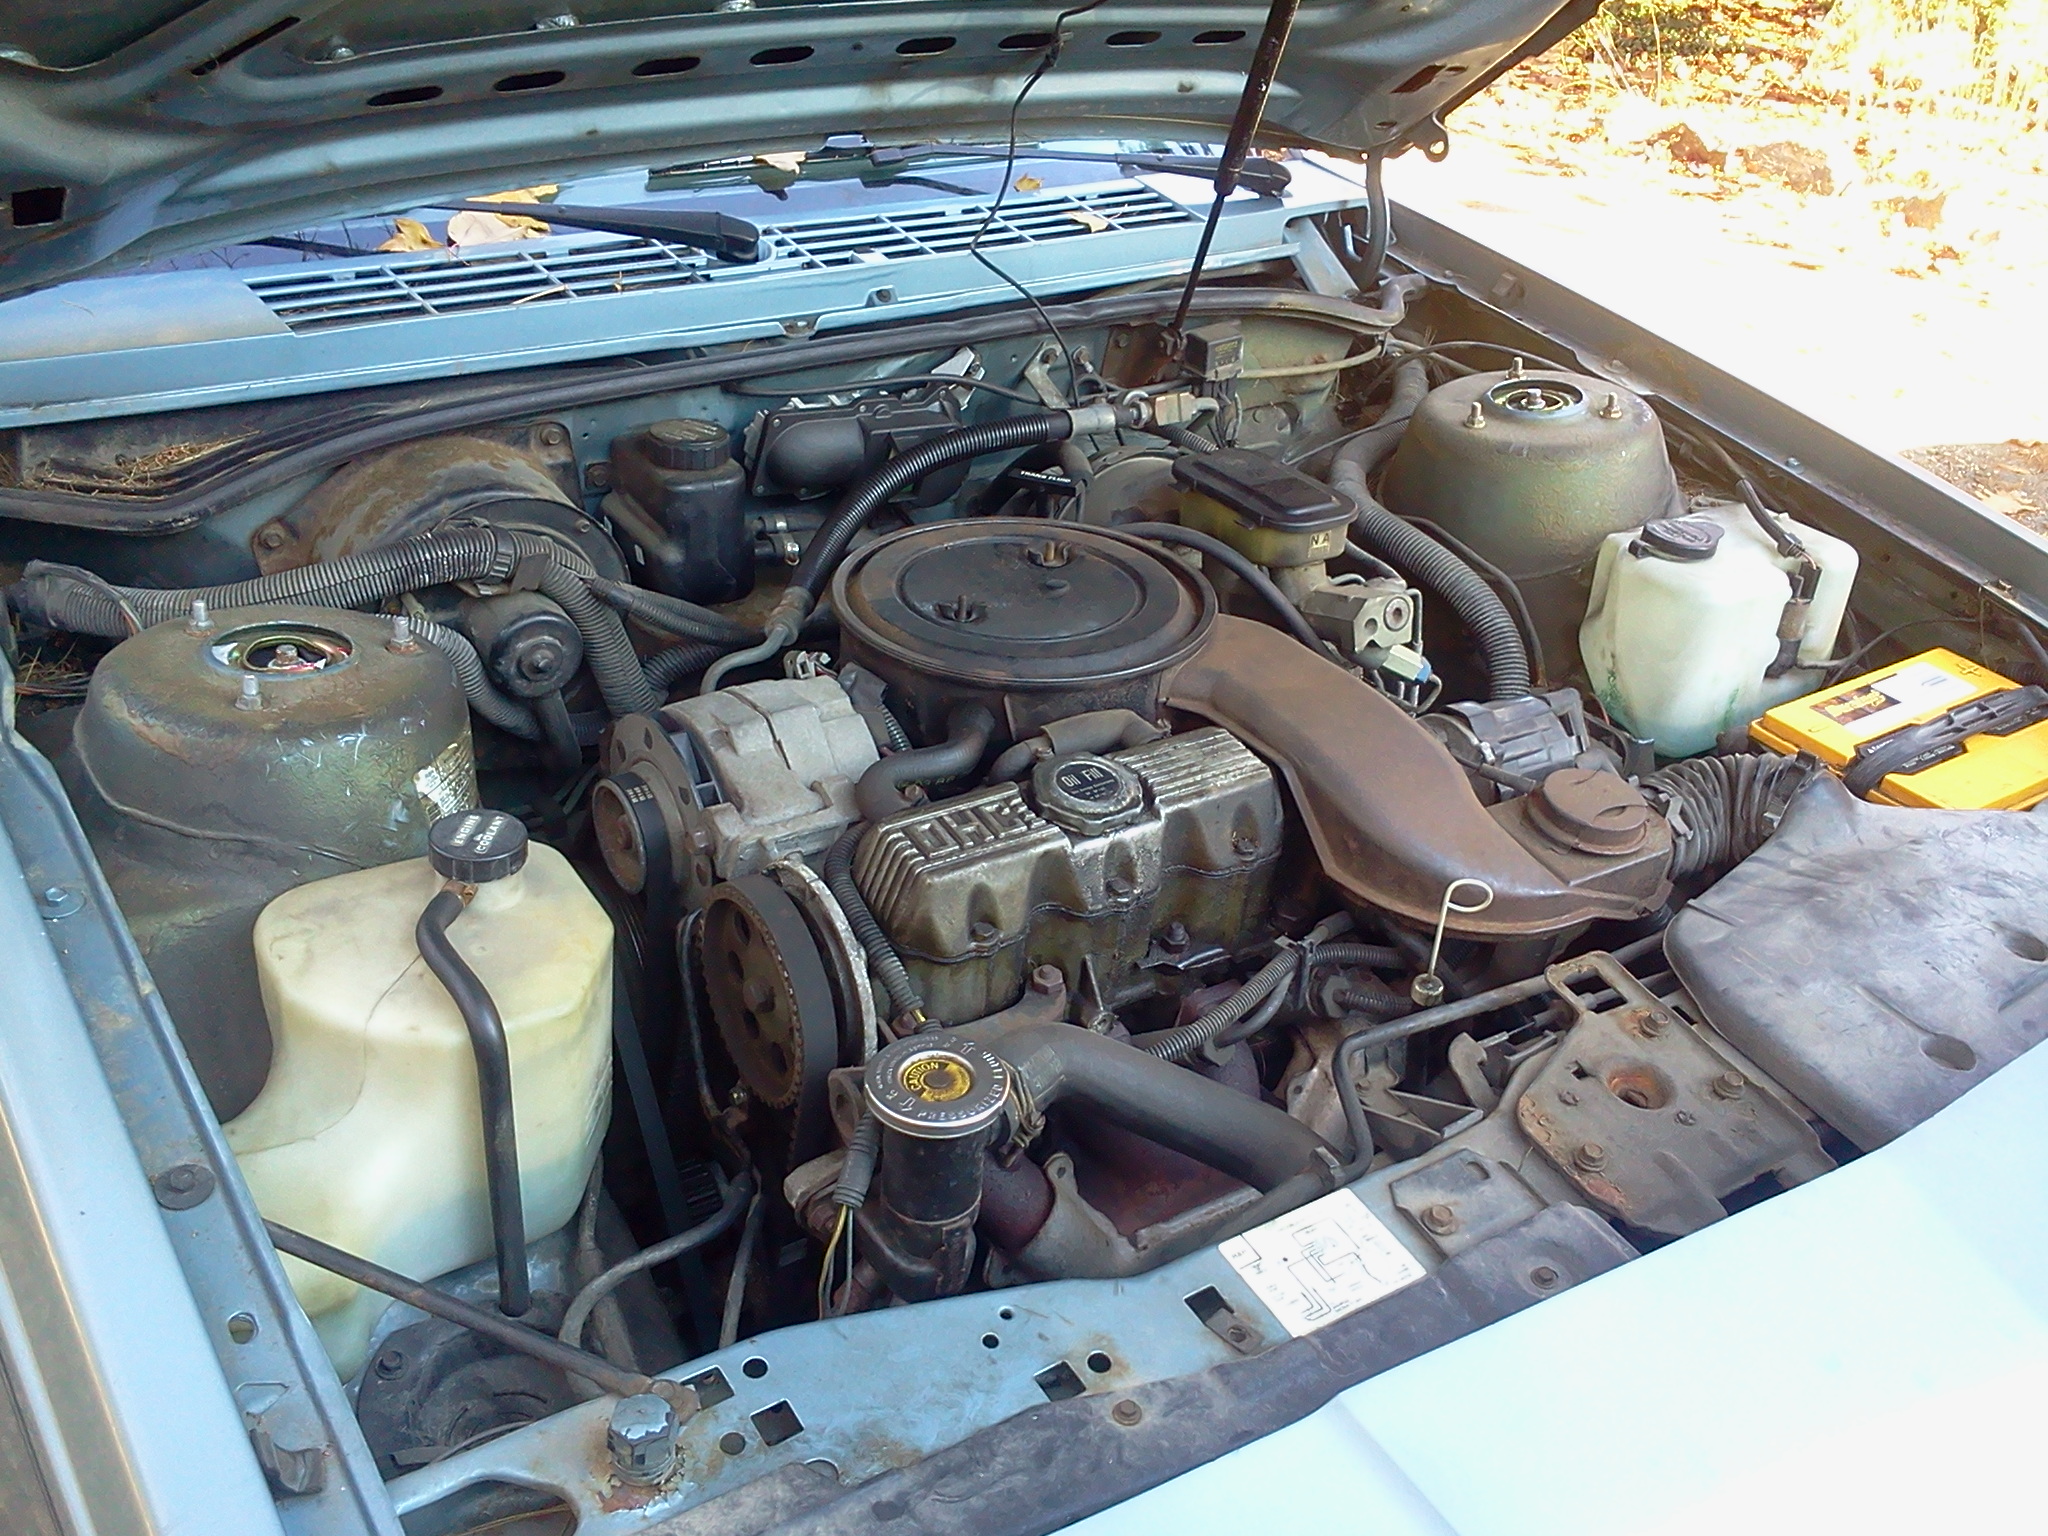
Next up, swapped out the small stock radiator for a second gen. larger one. Mostly just because I had it and the original was starting to leak, not because I was too concerned with cooling power, but it can only help. The plastic blockoff piece had to be removed, and 2nd gen. hoses used, but it was pretty straight forward and has been working well.

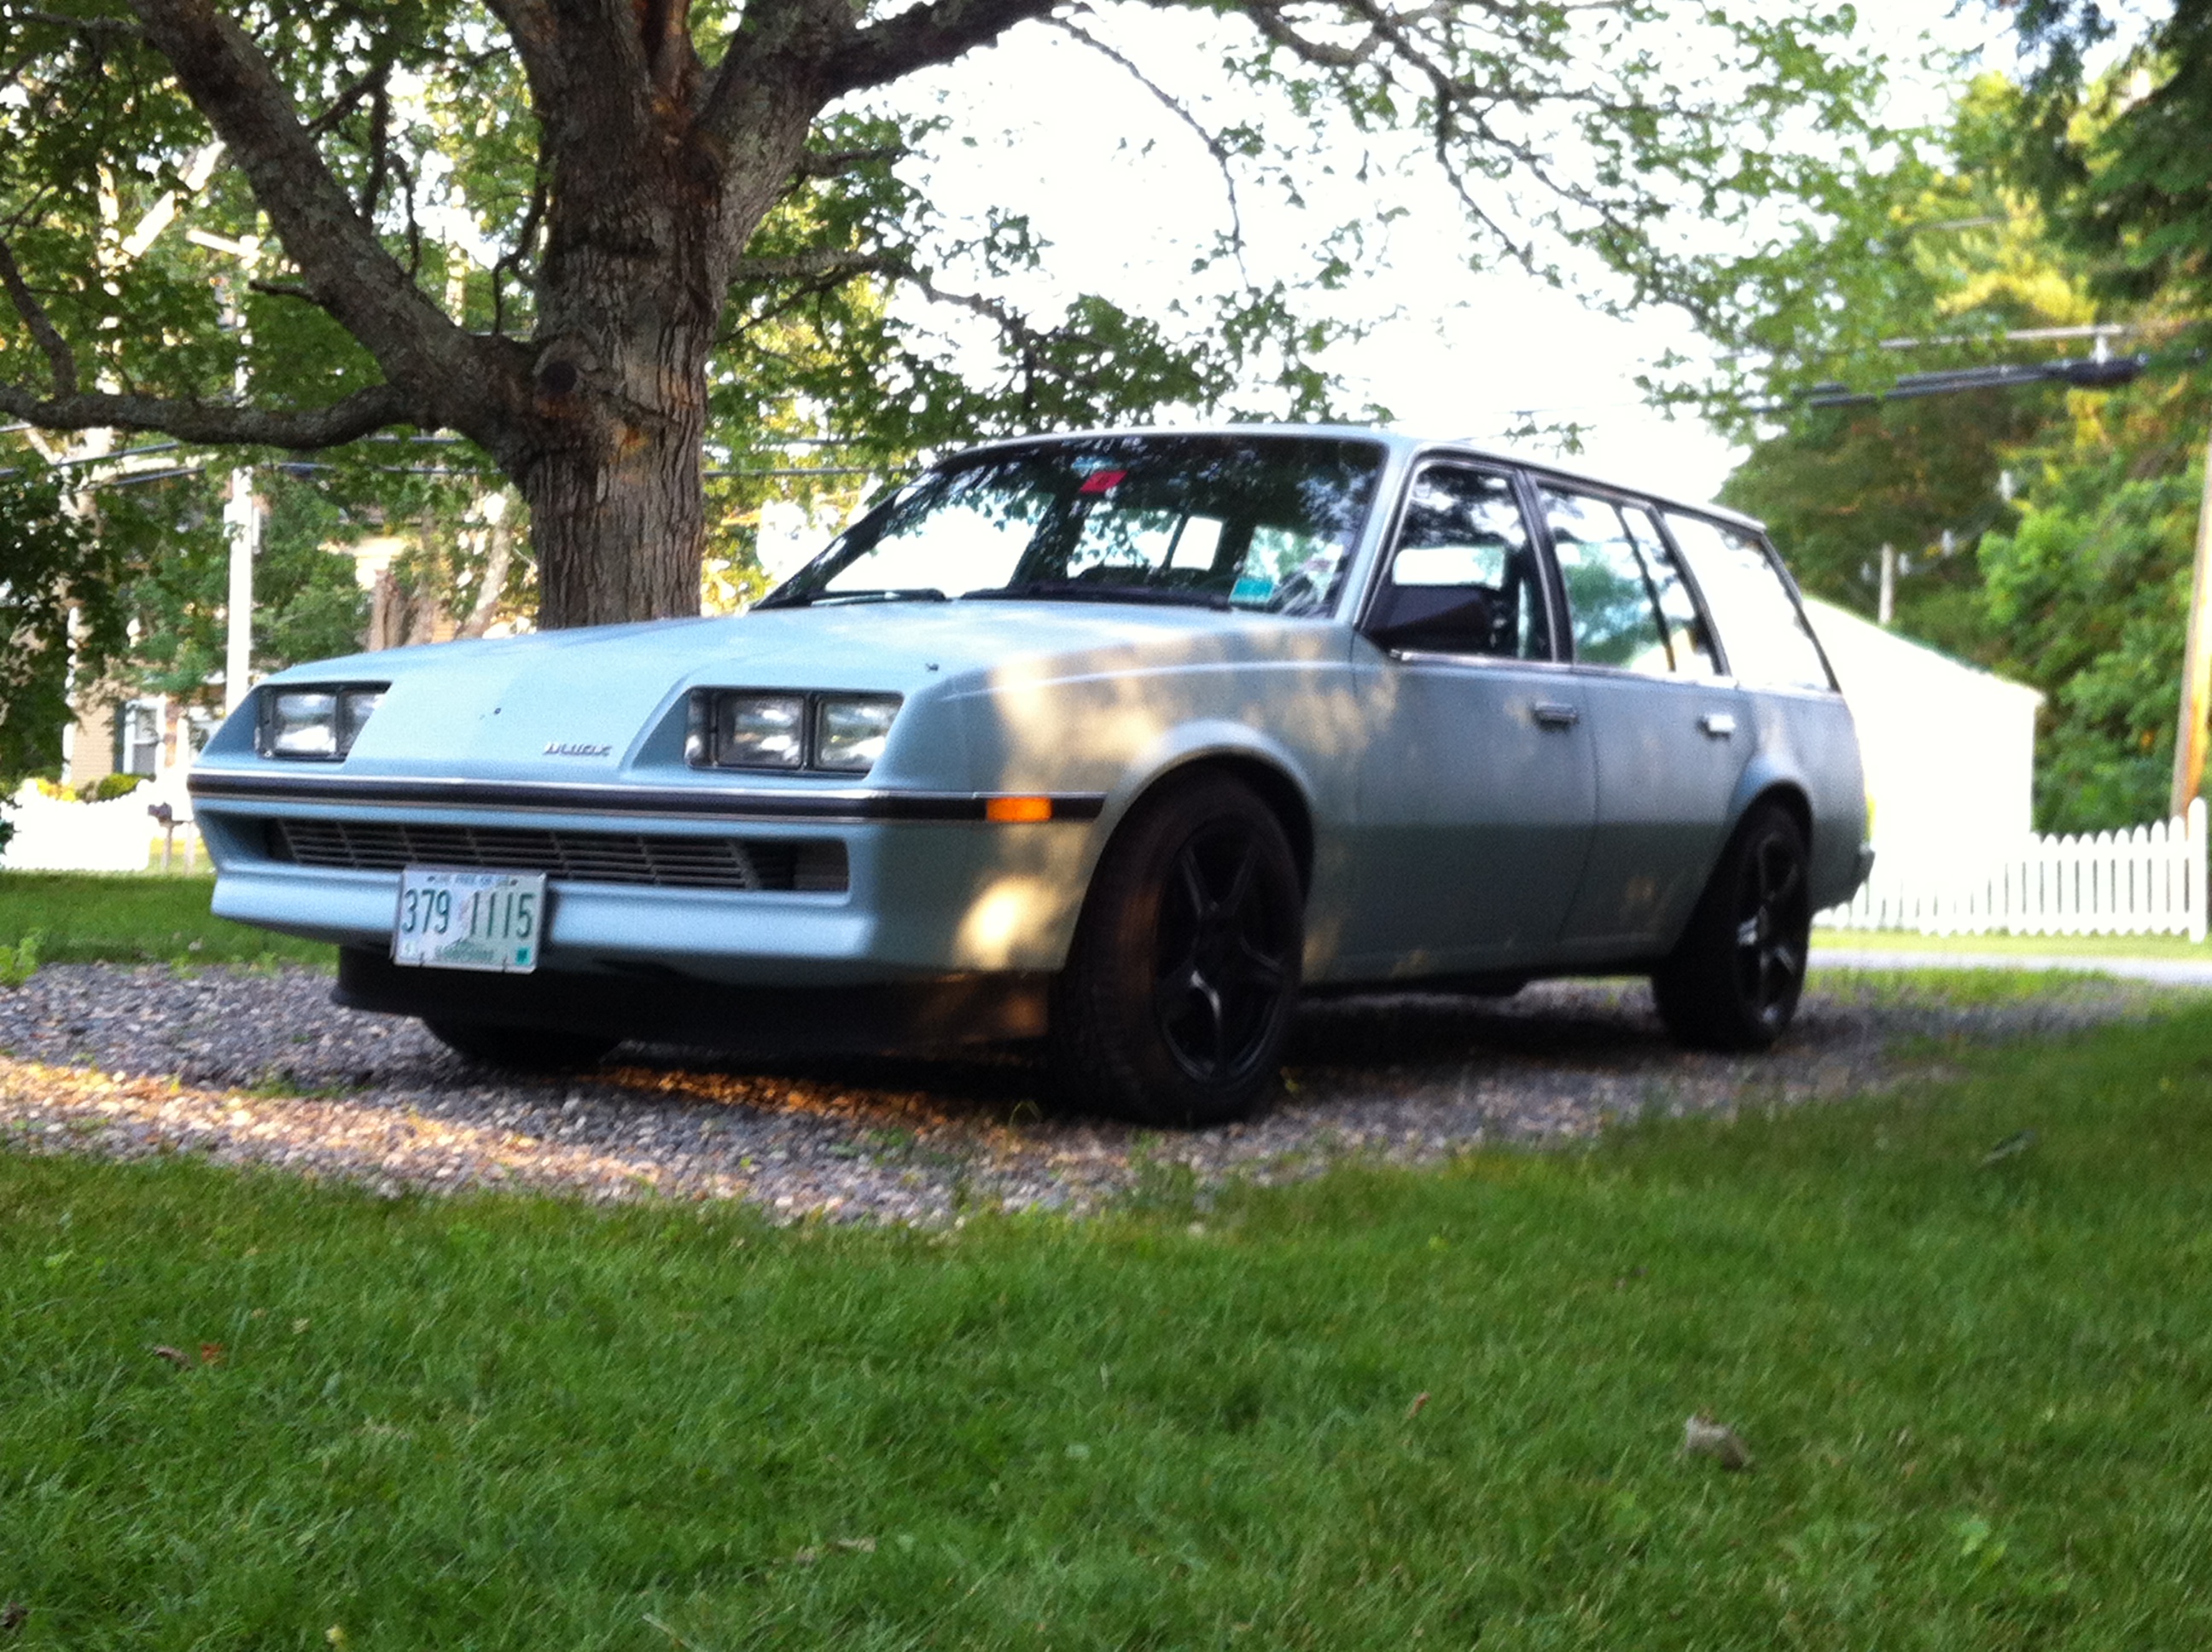
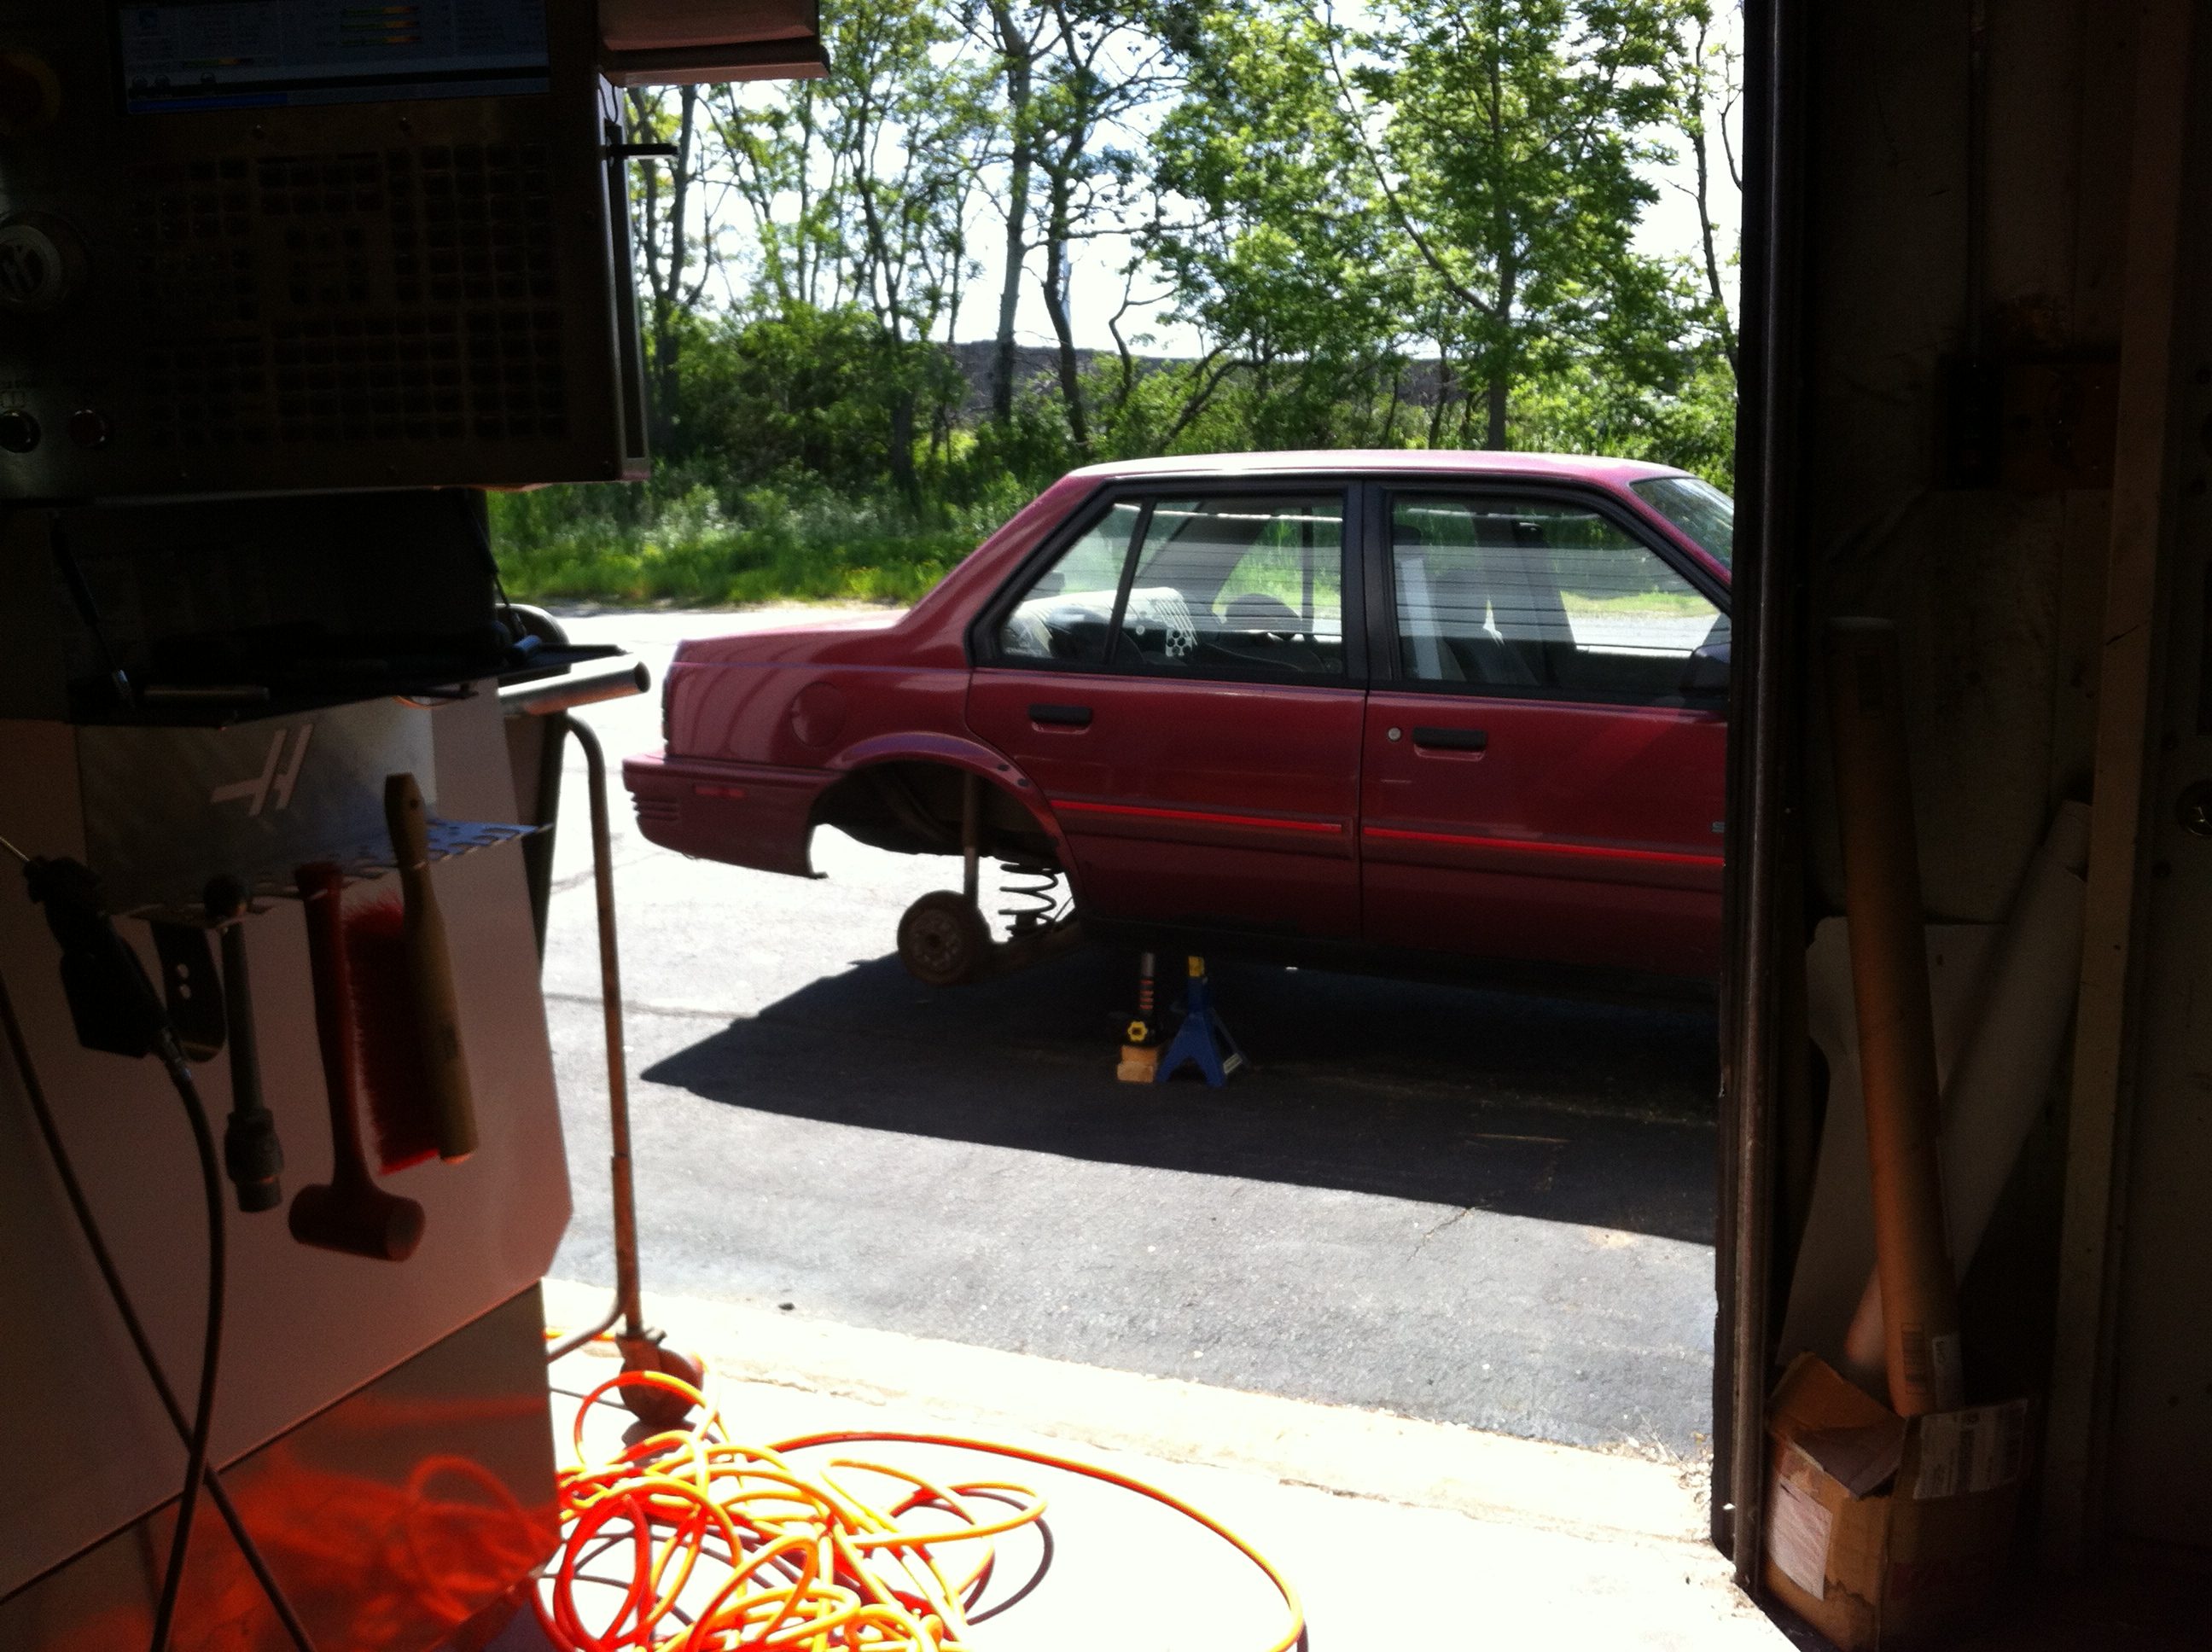
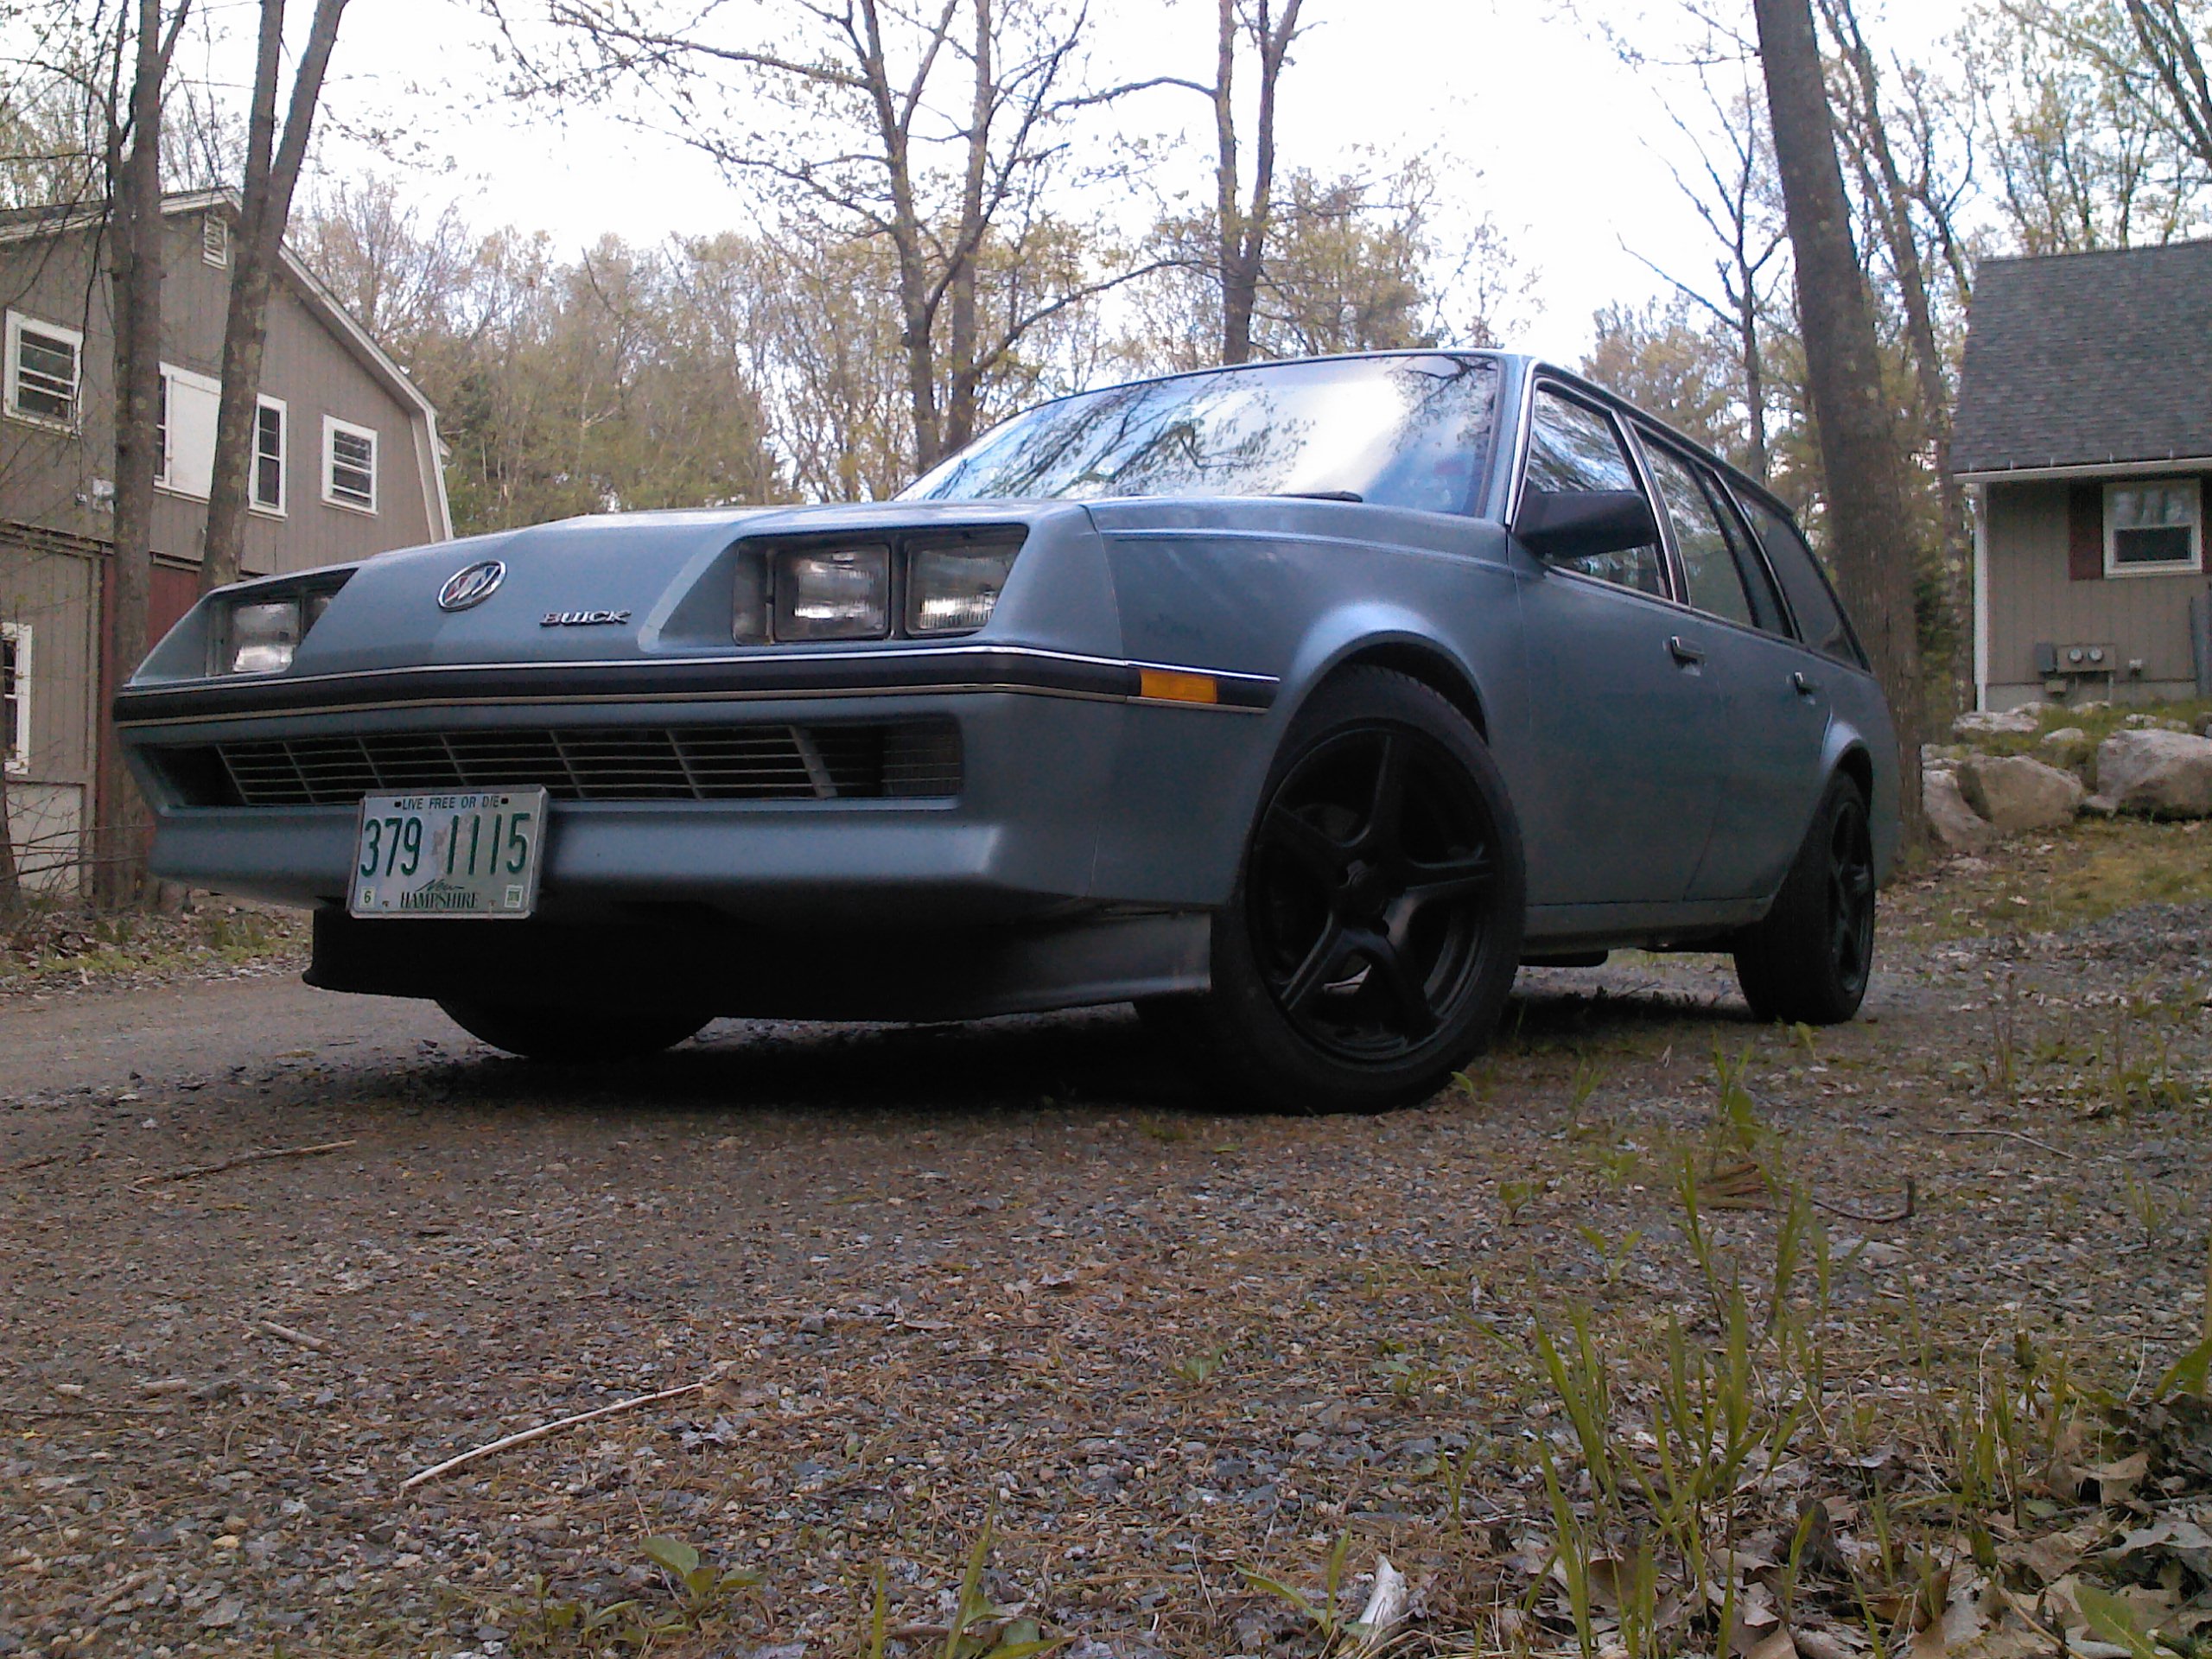
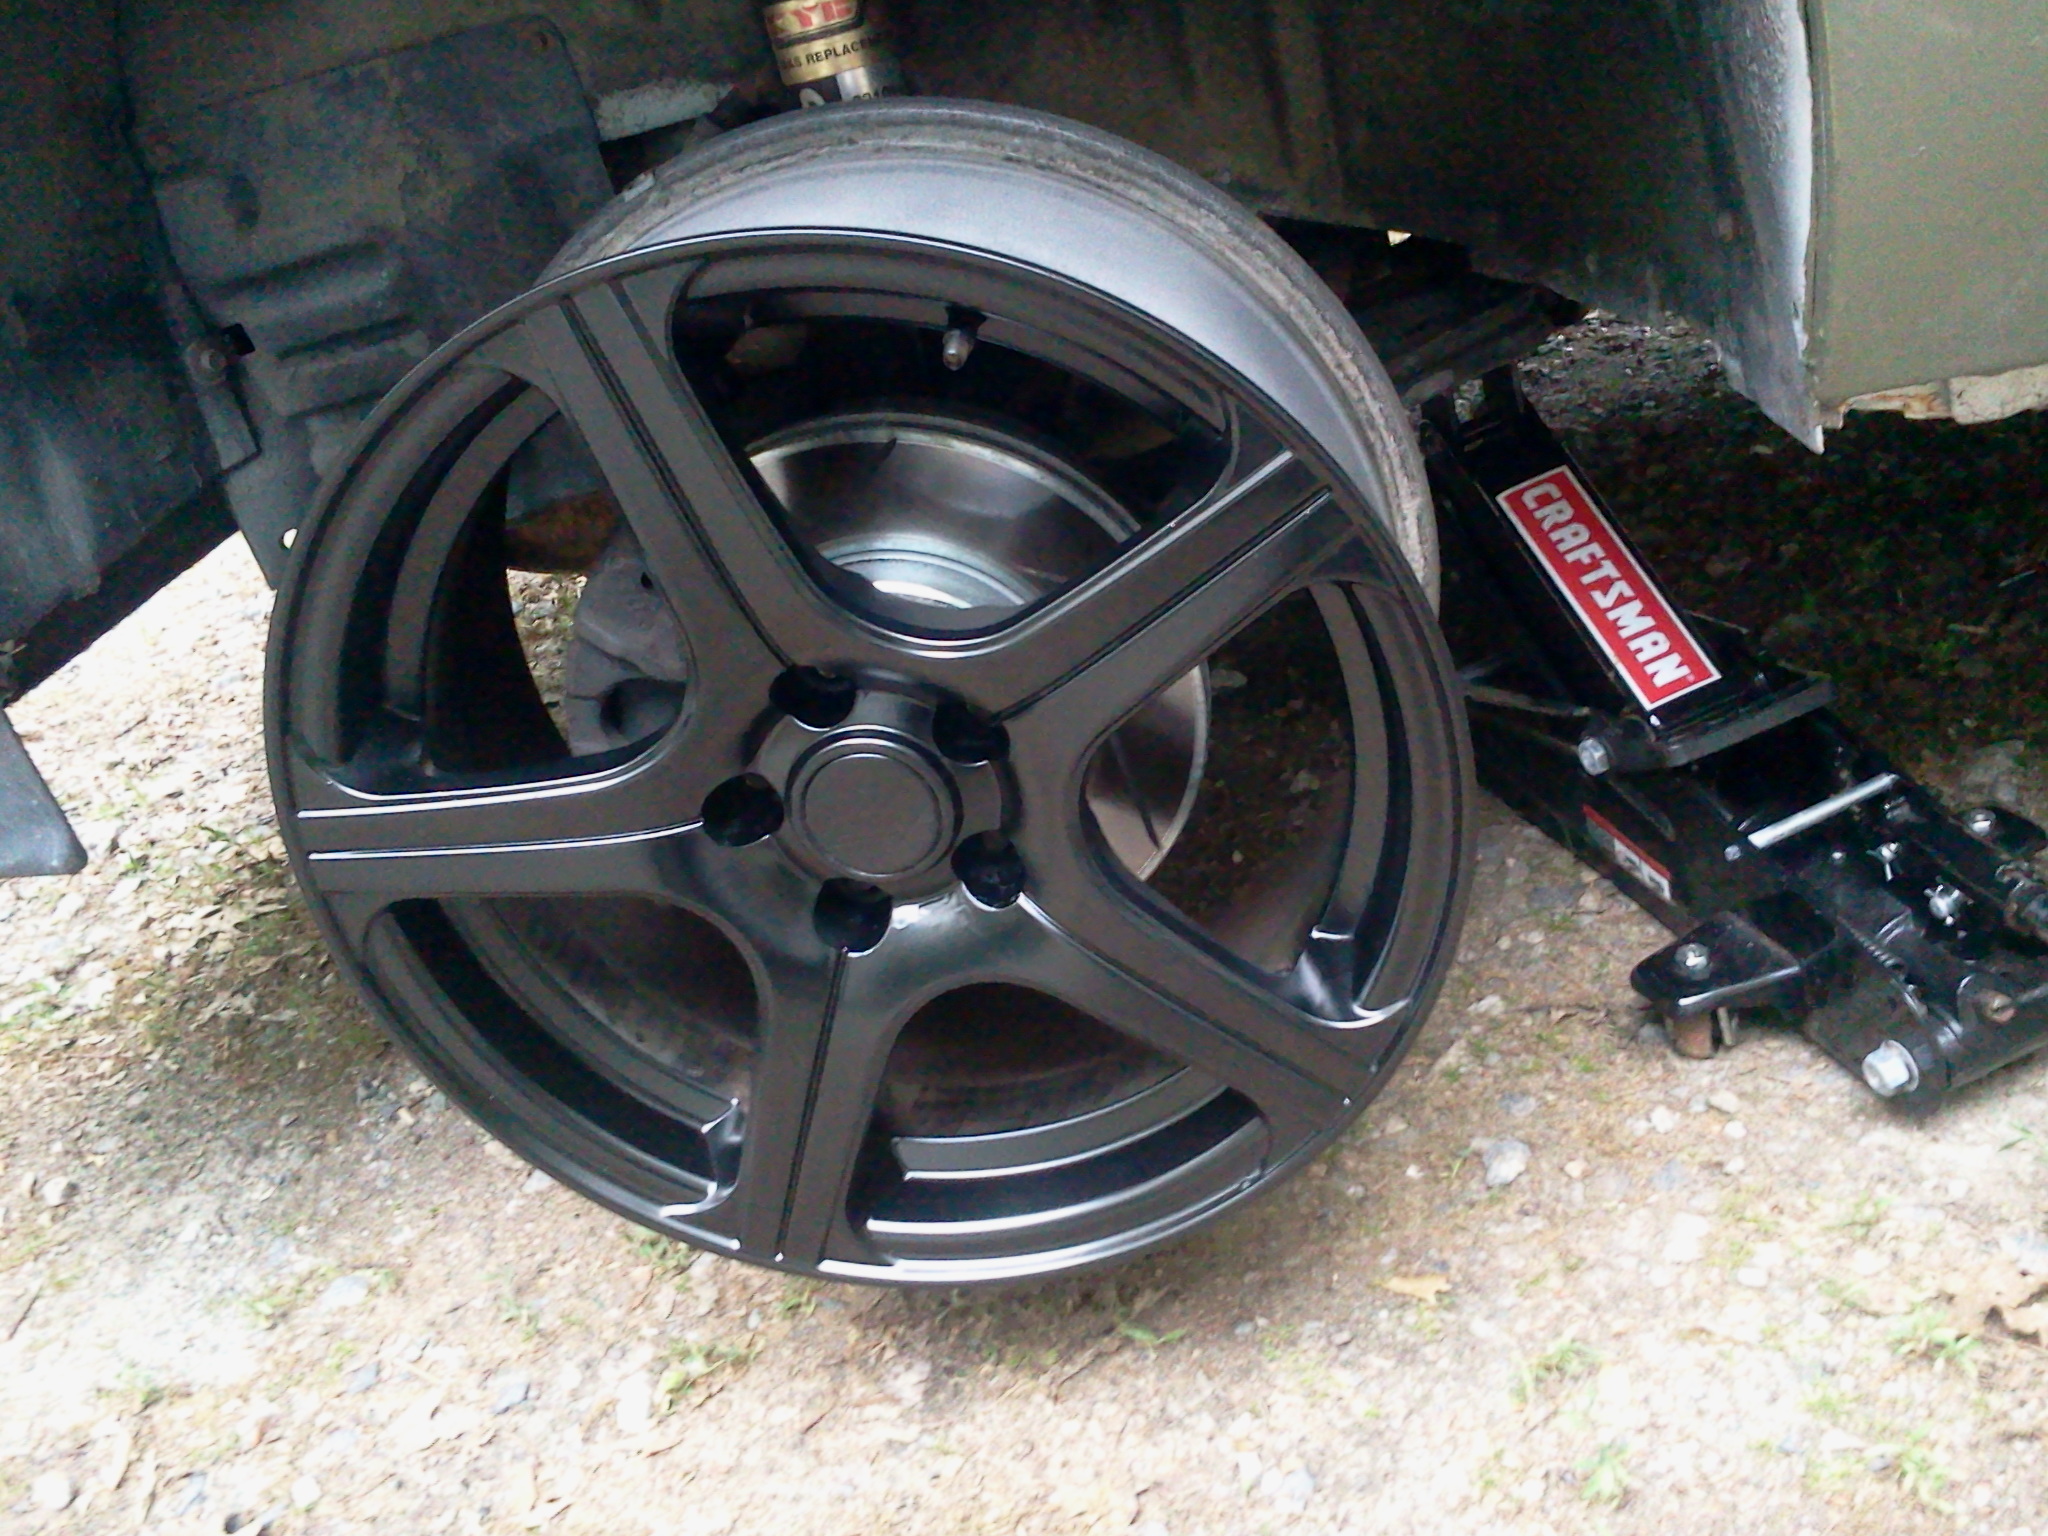
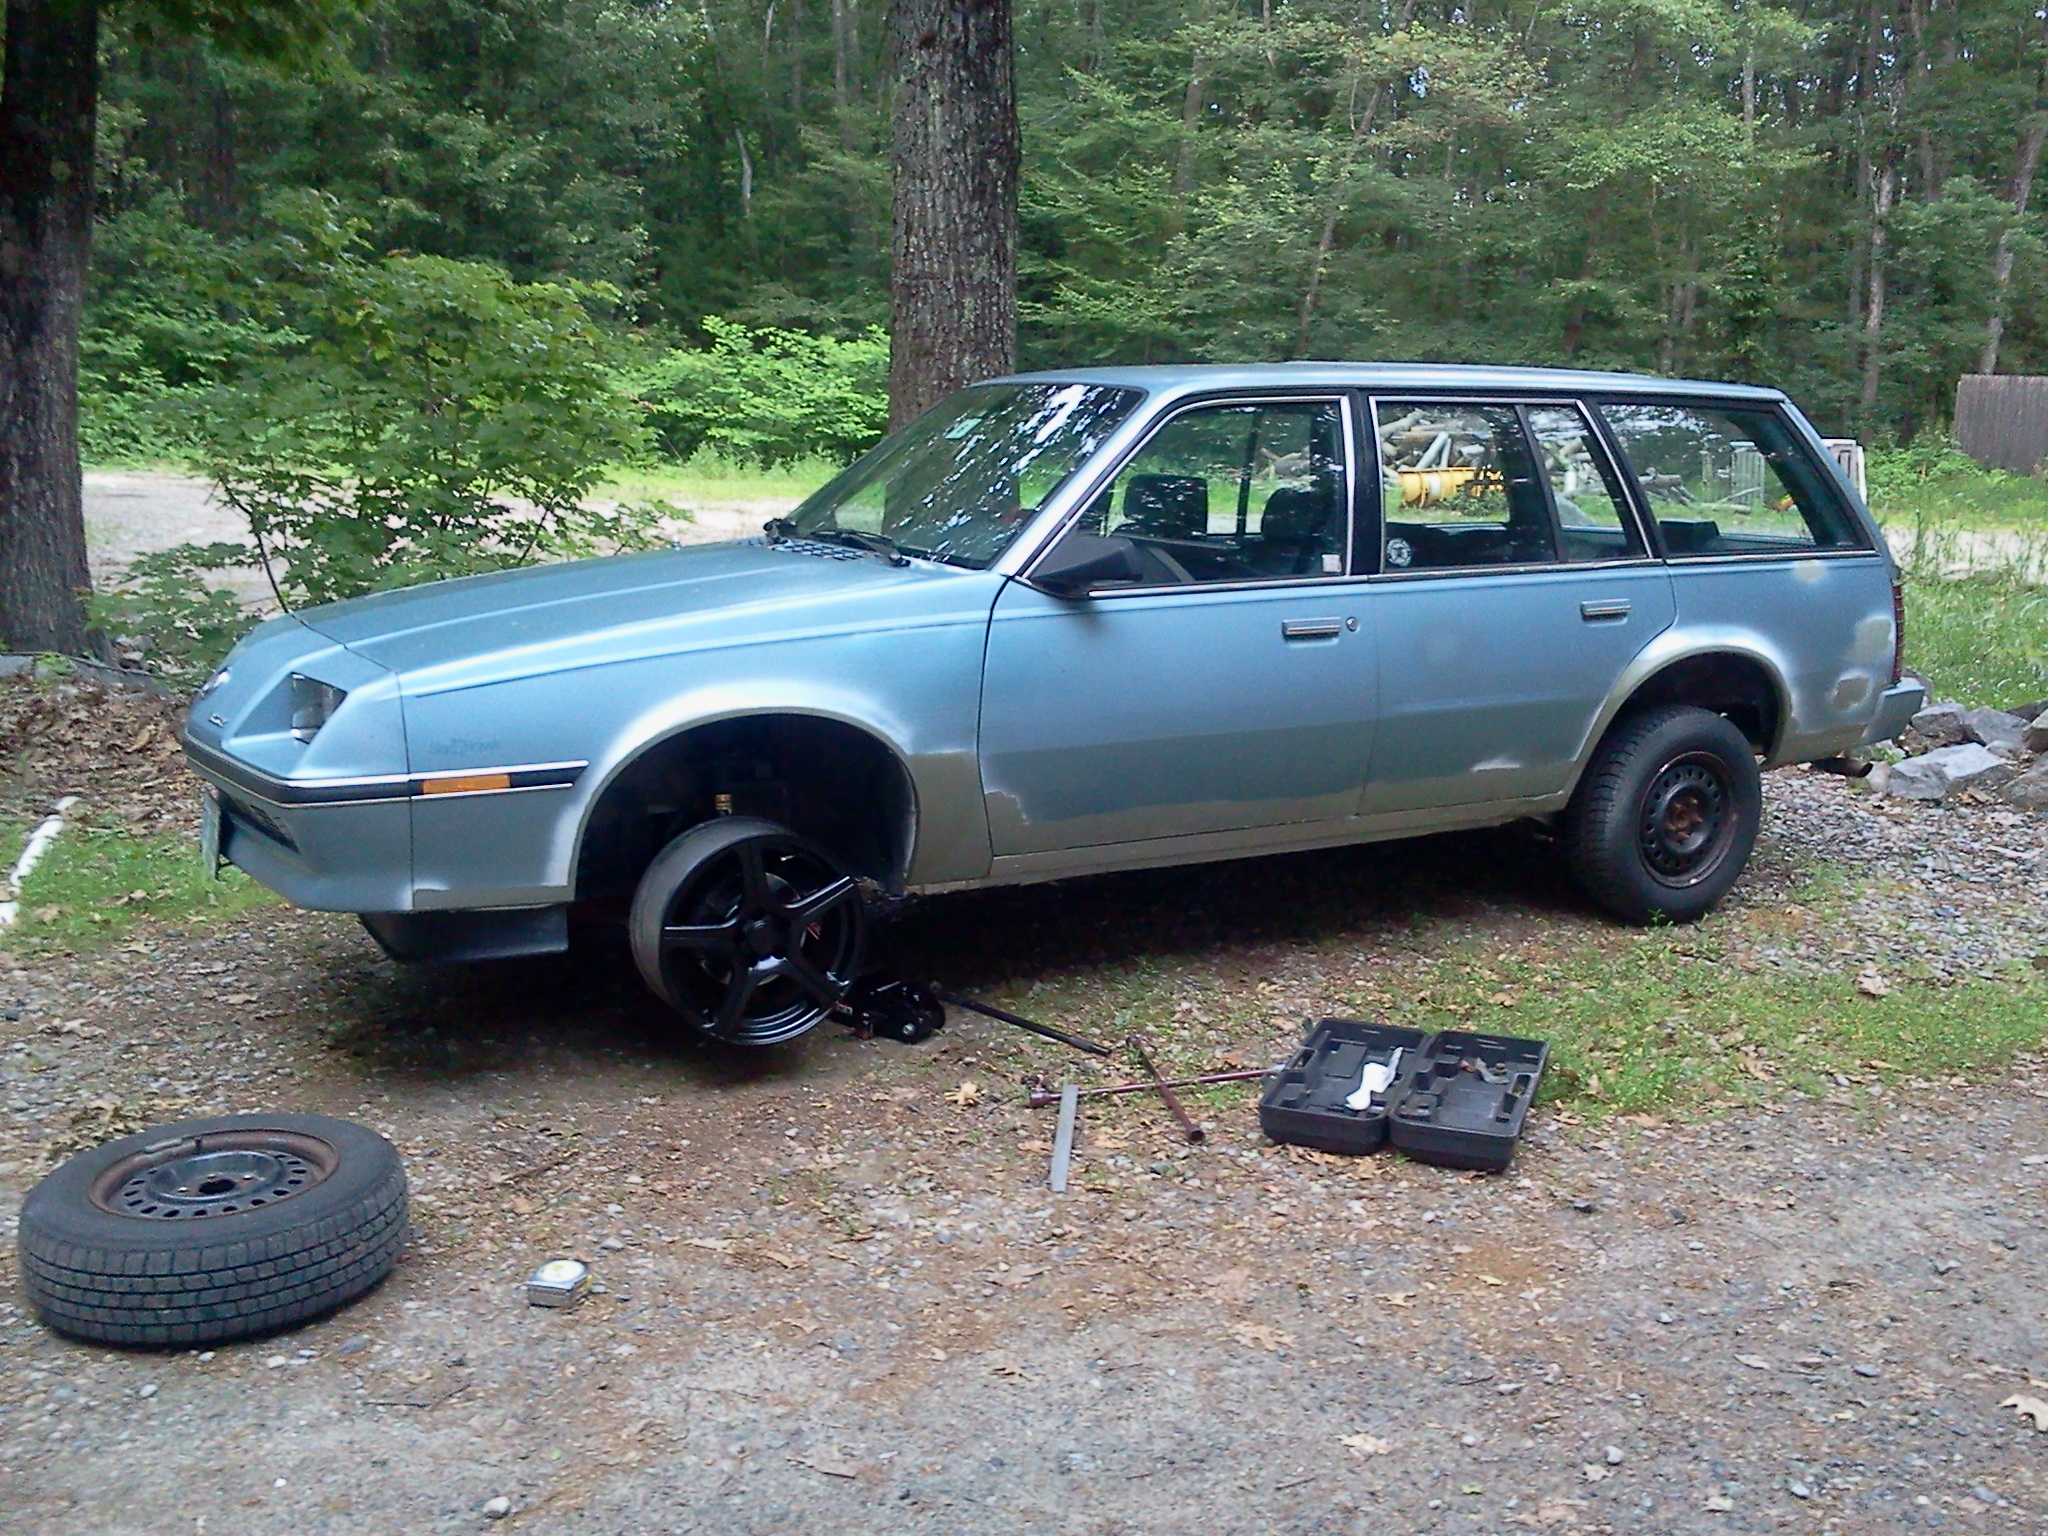
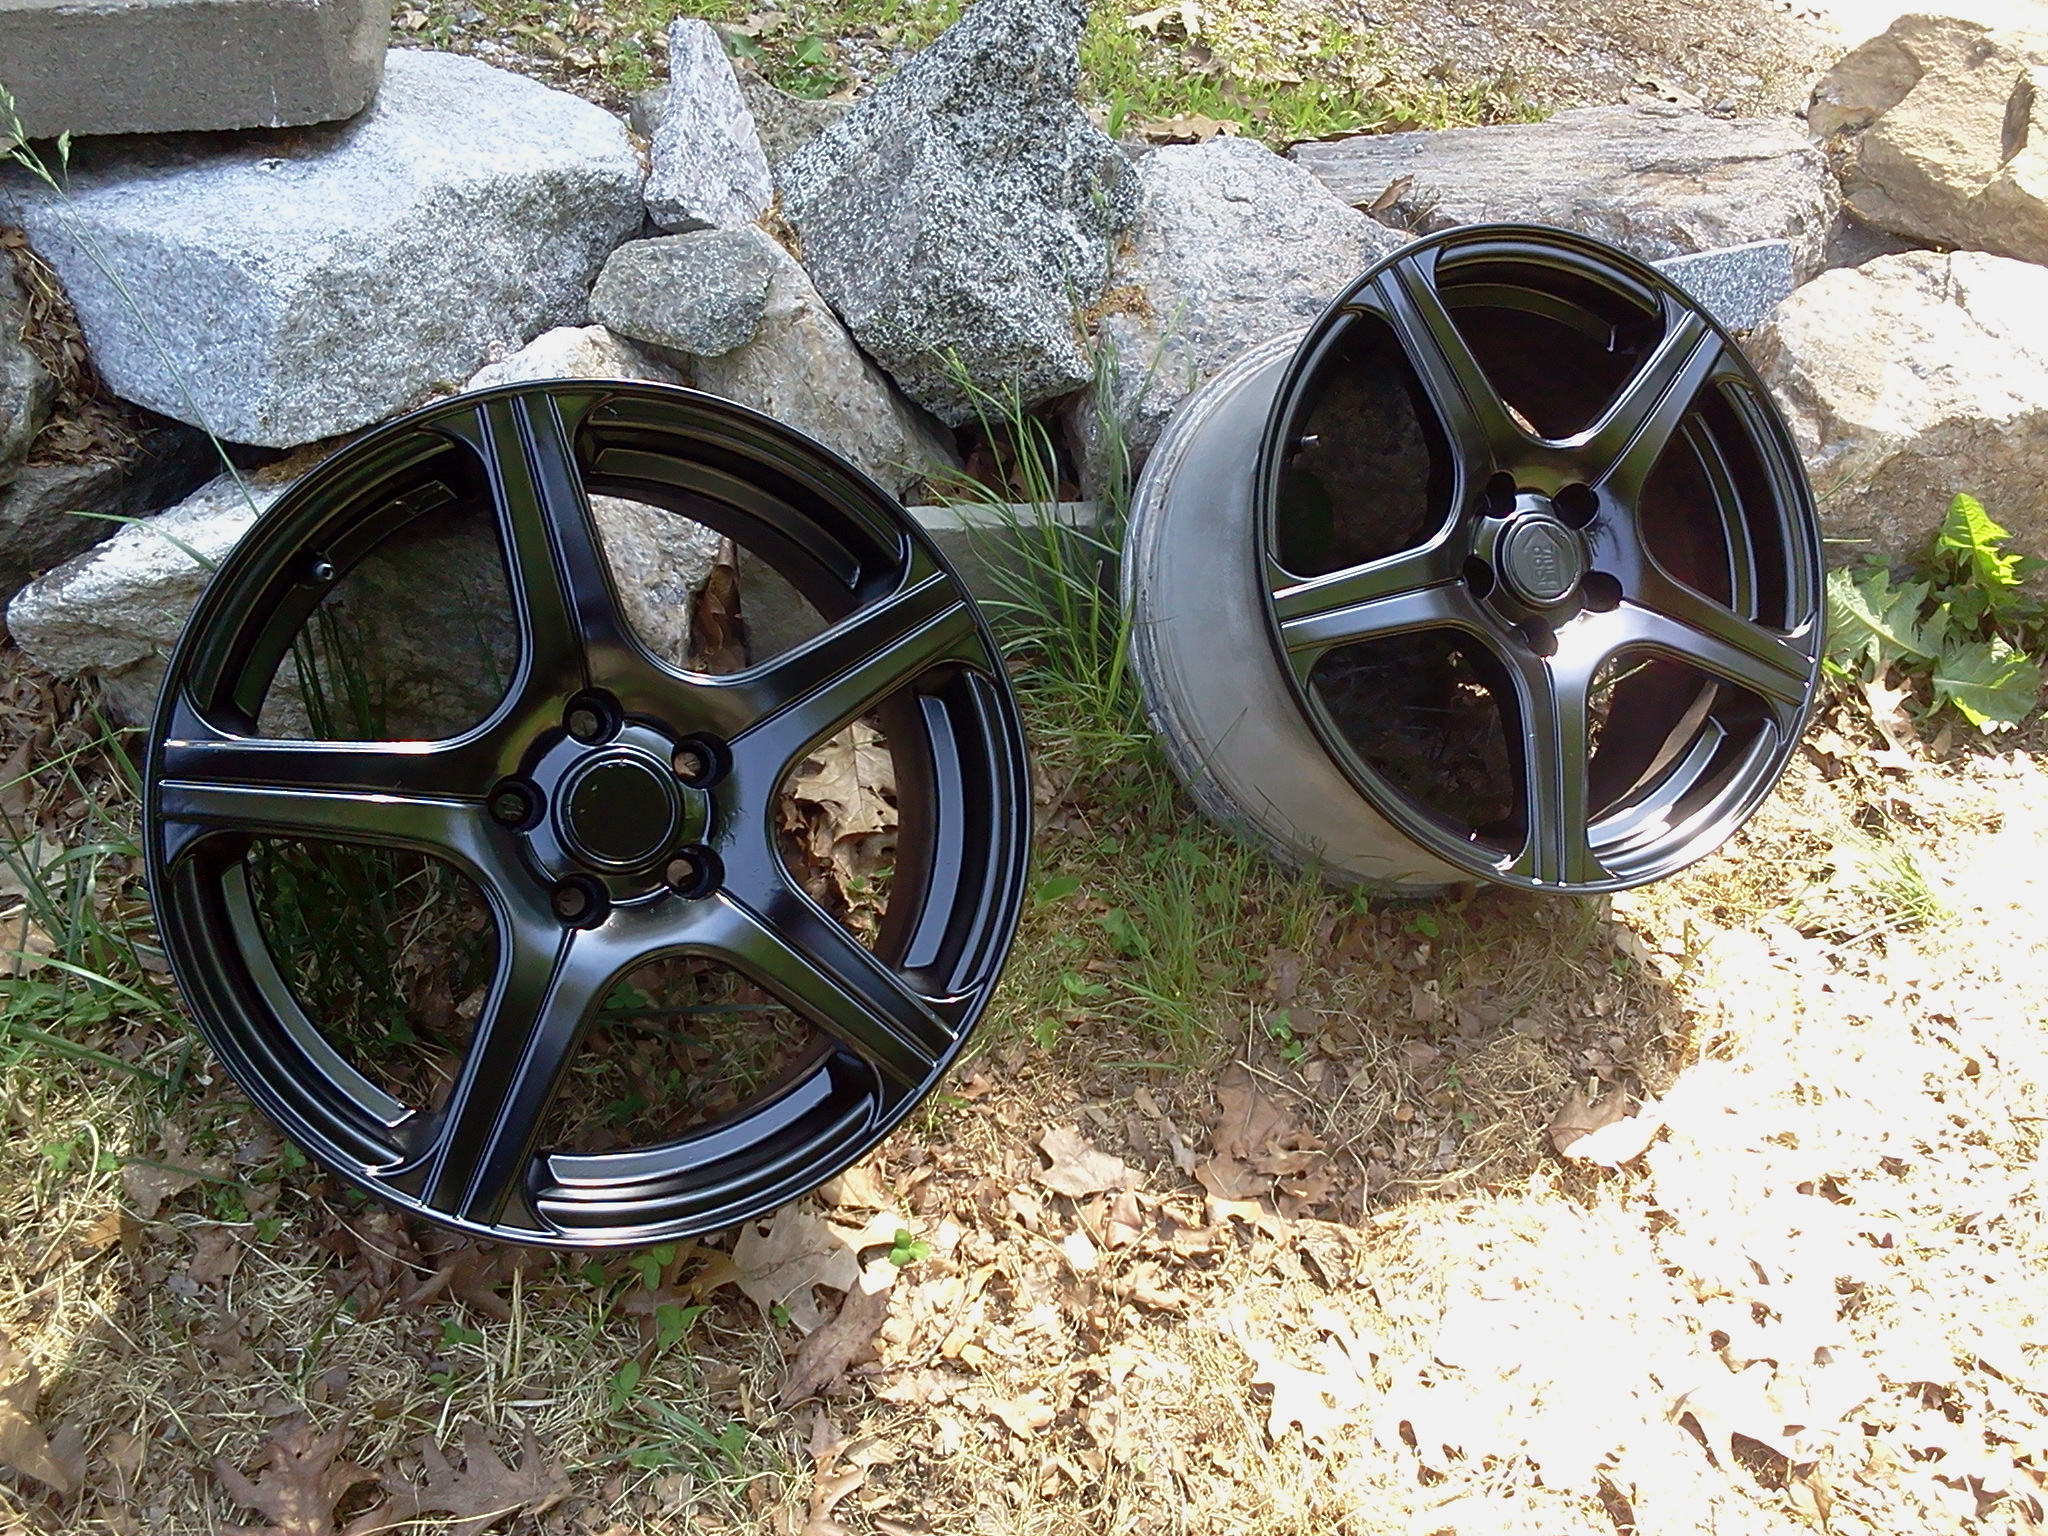
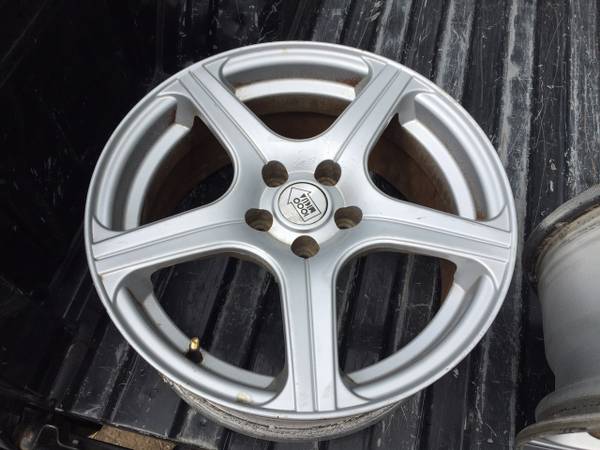
I had replaced a lot of the front suspension parts after buying the car, but not everything was new, a lot was from the old 91 Sunbird, and there are some changes between the generations that I did not know about. That being said, what I ended up with for a while was a cut spring on one side to level it off, and a “memory steer” issue that I had a hard time figuring out. To make a long story short, it ended up being bad upper strut mounts. While in there, I replaced the control arms and furnished the new ones with poly bushings (you have to buy two sets for a 2nd generation J and then use the smaller ones from each set,) and new ball joints, along with some new tie rod ends and sway bar end links. The cut spring was a temporary solution and I eventually installed some lowering springs, which make the car sit just right and look a thousand times better, especially with the larger wheels. They make a nice difference in the handling also, and with the upgrades and wider tires it hugs corners pretty well for what it is.

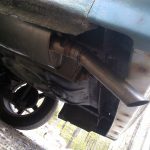
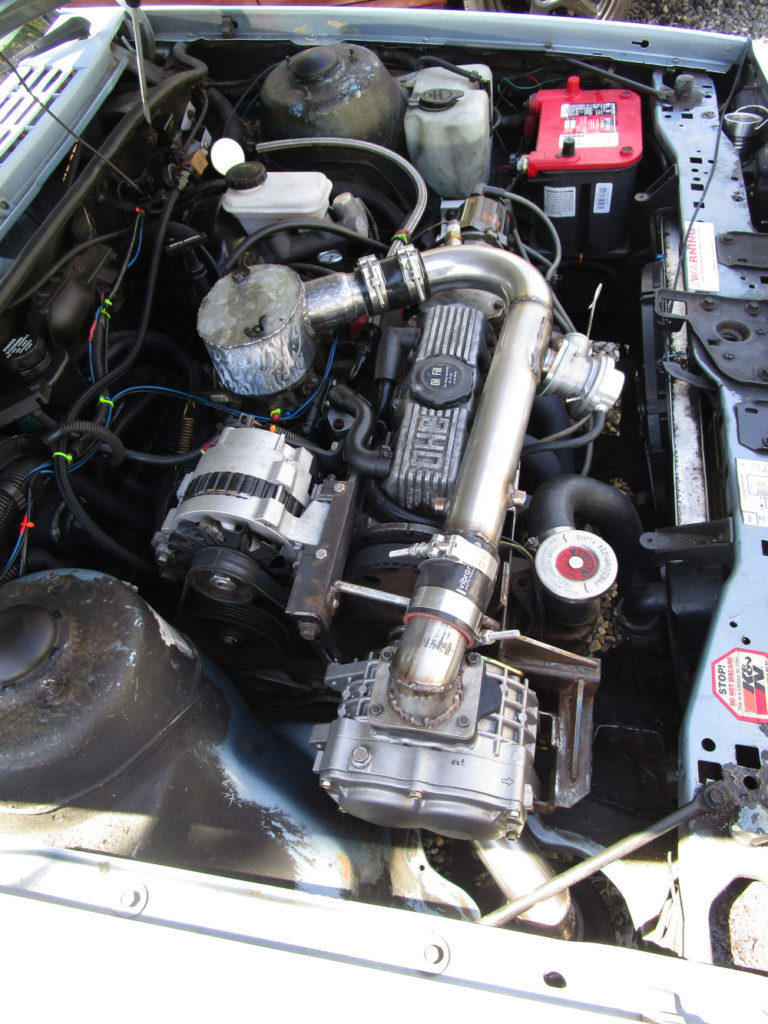
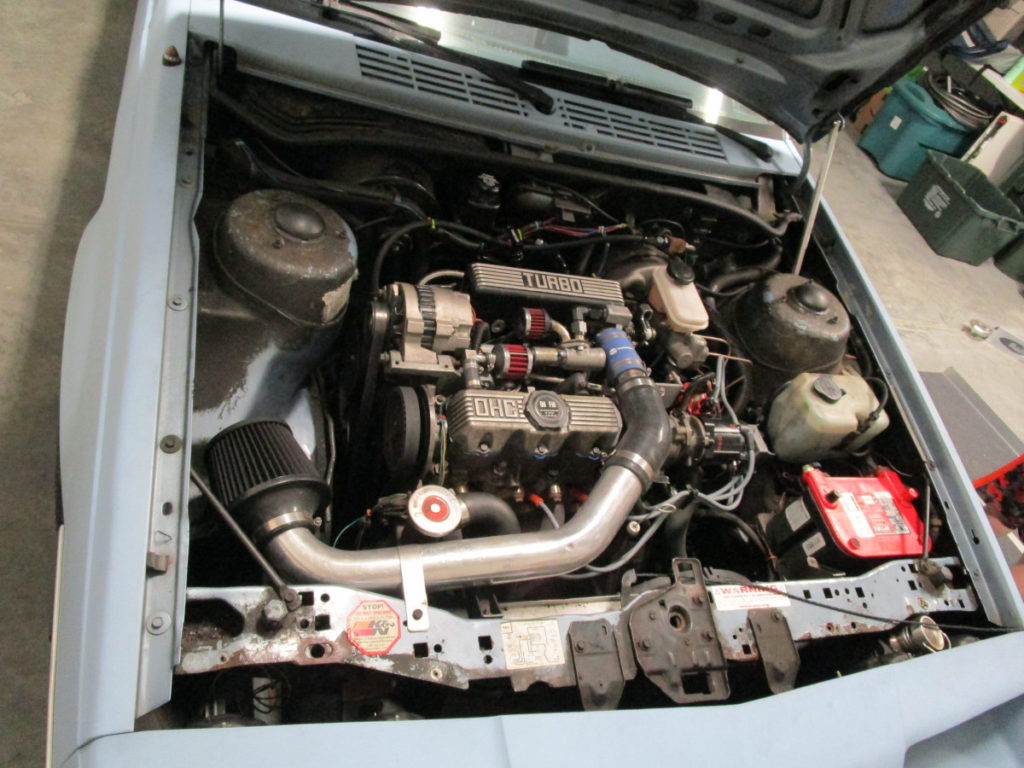
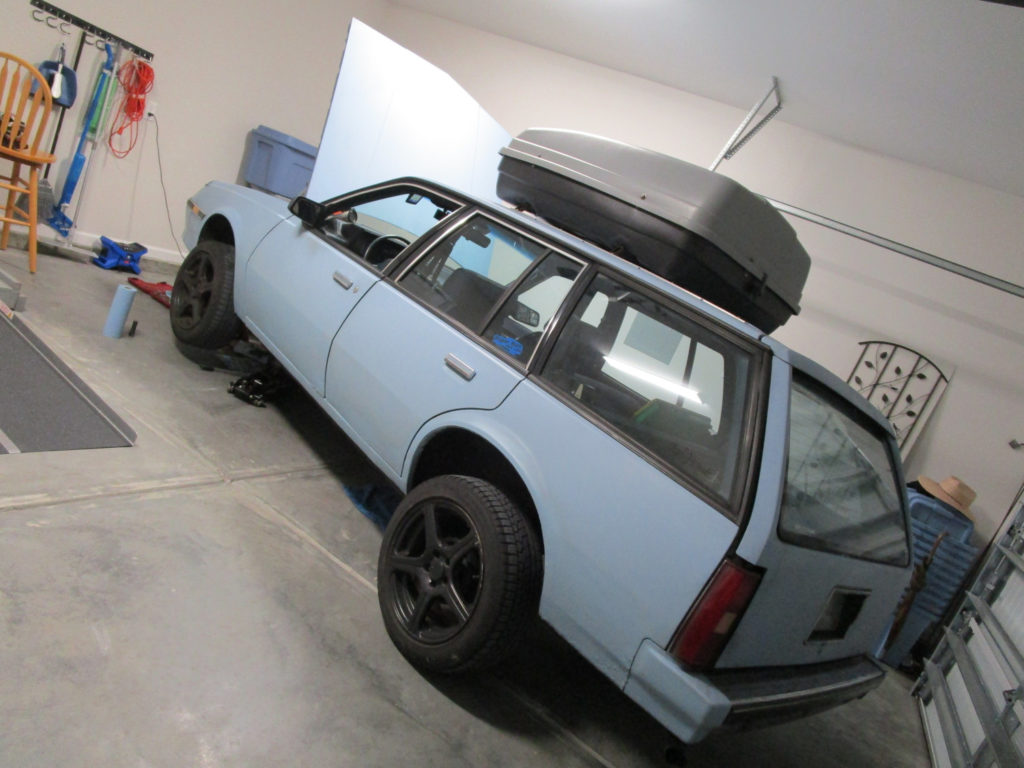
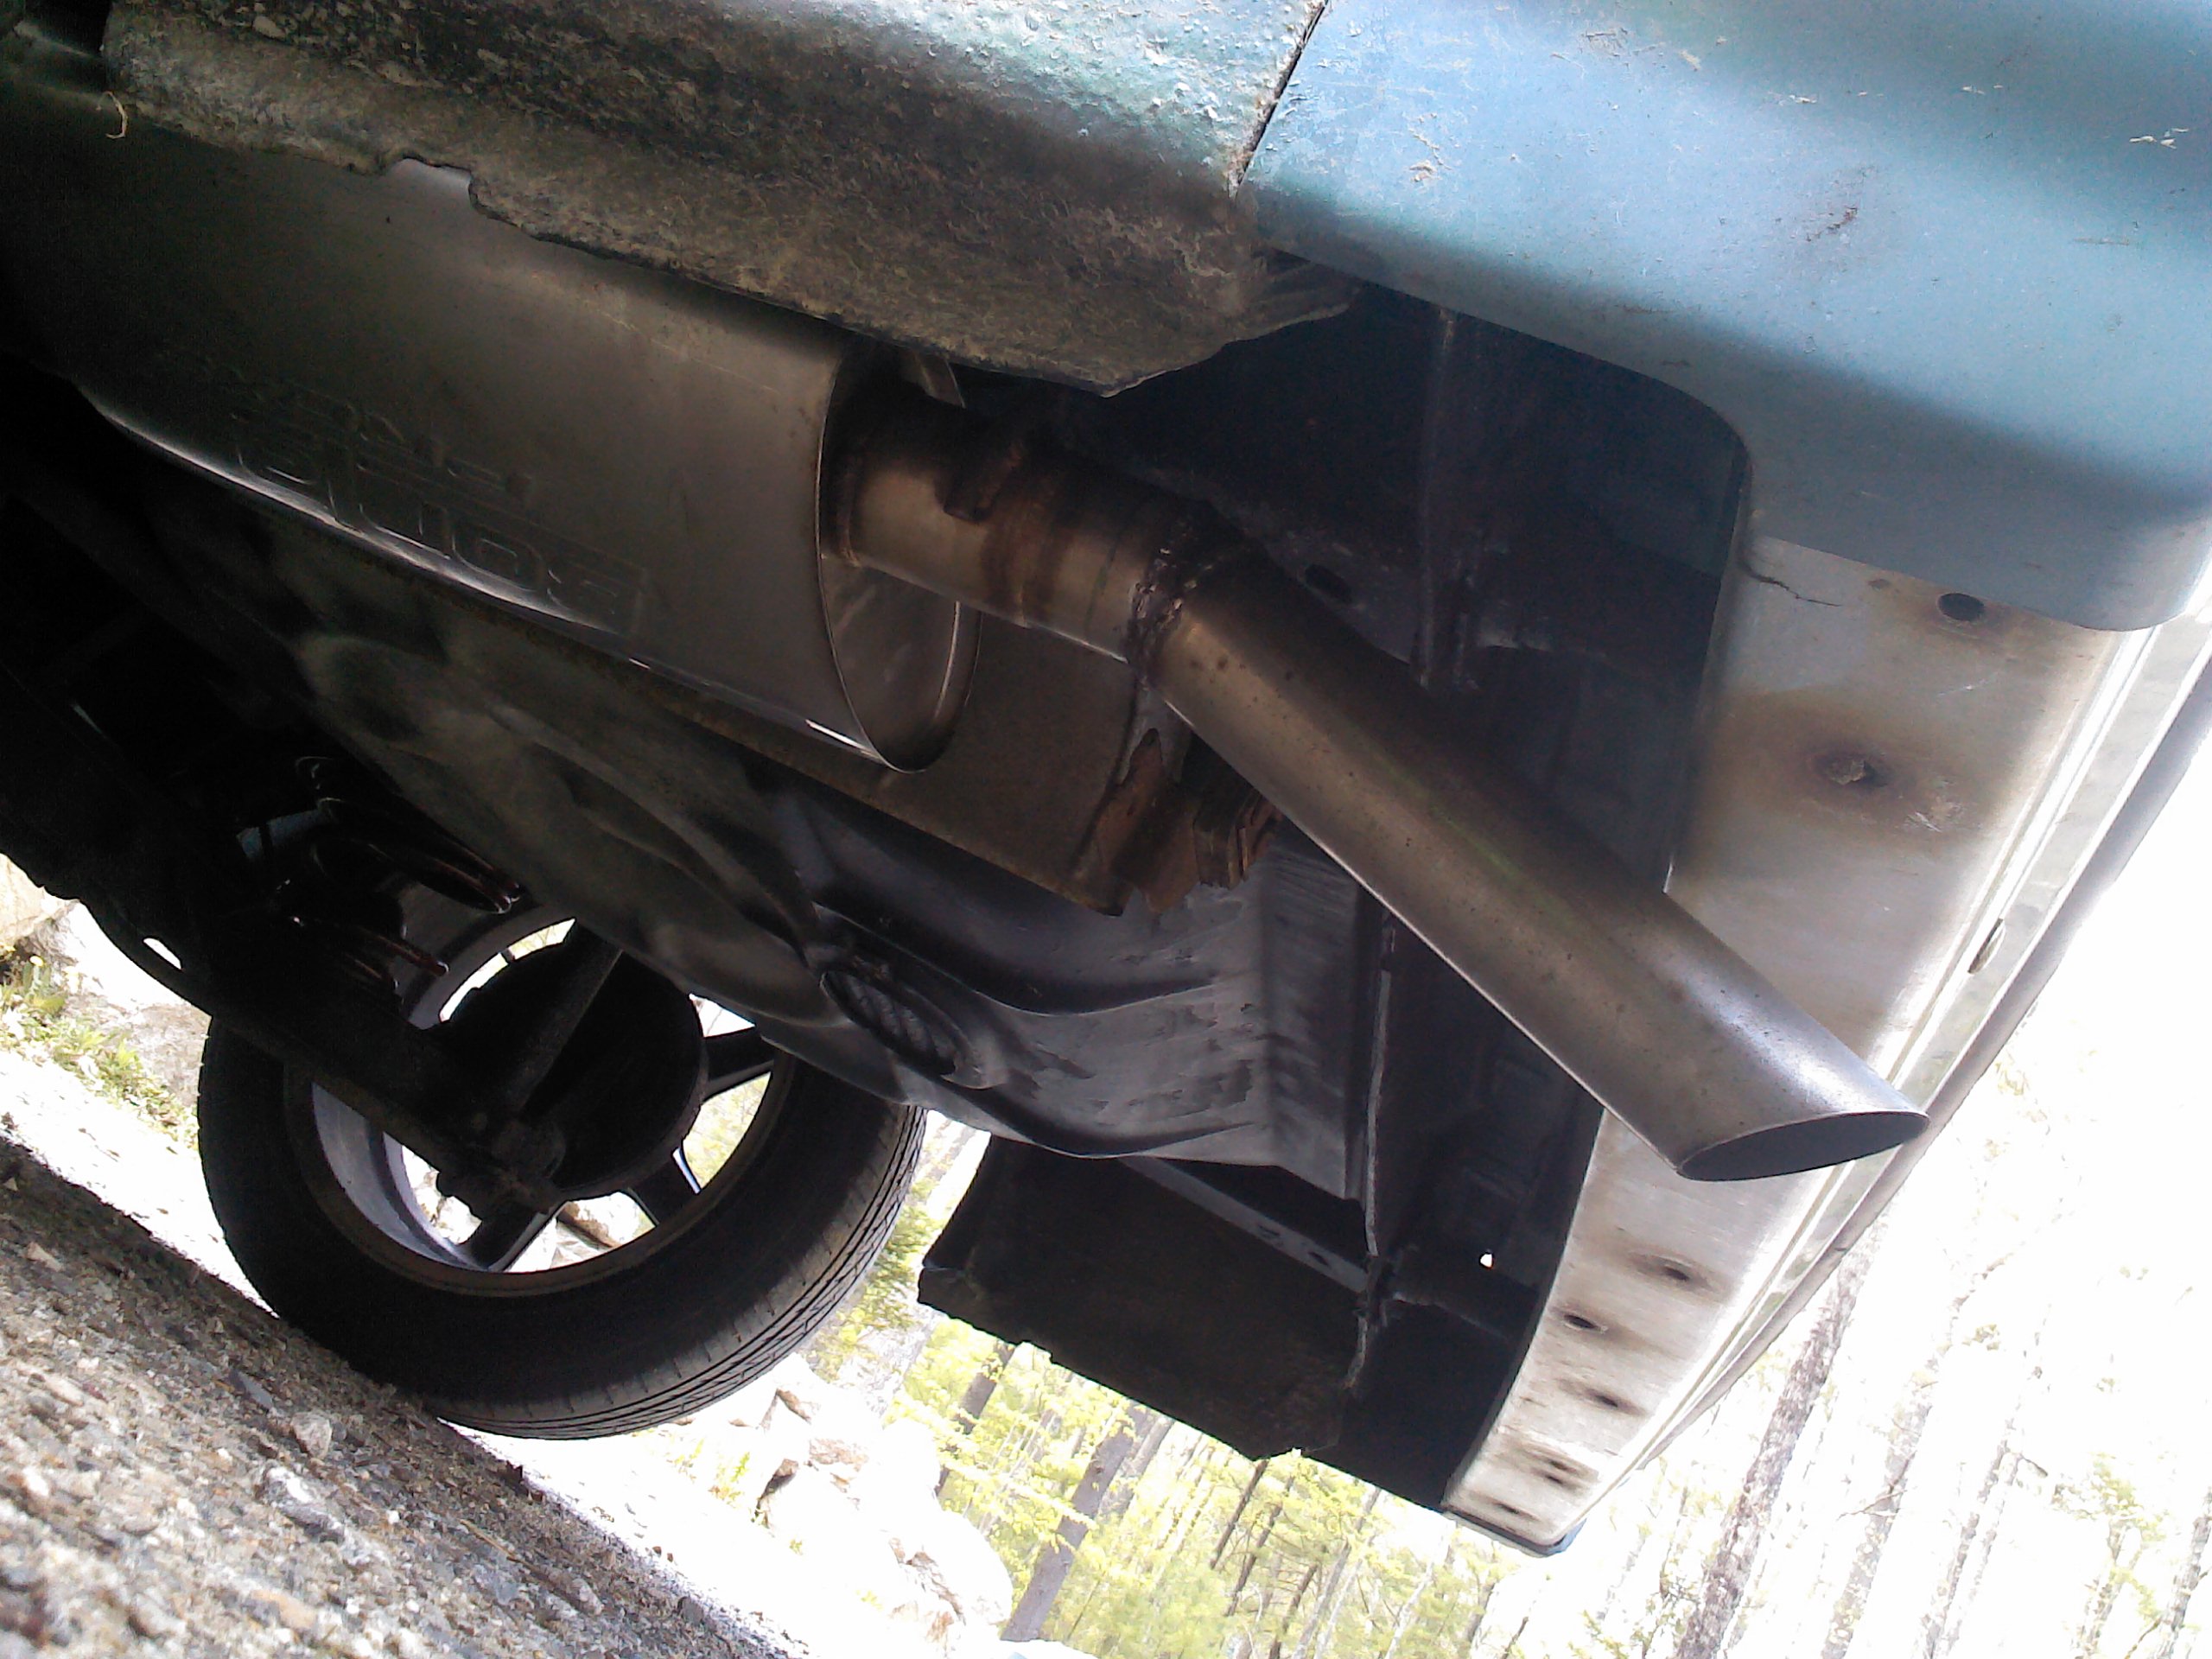
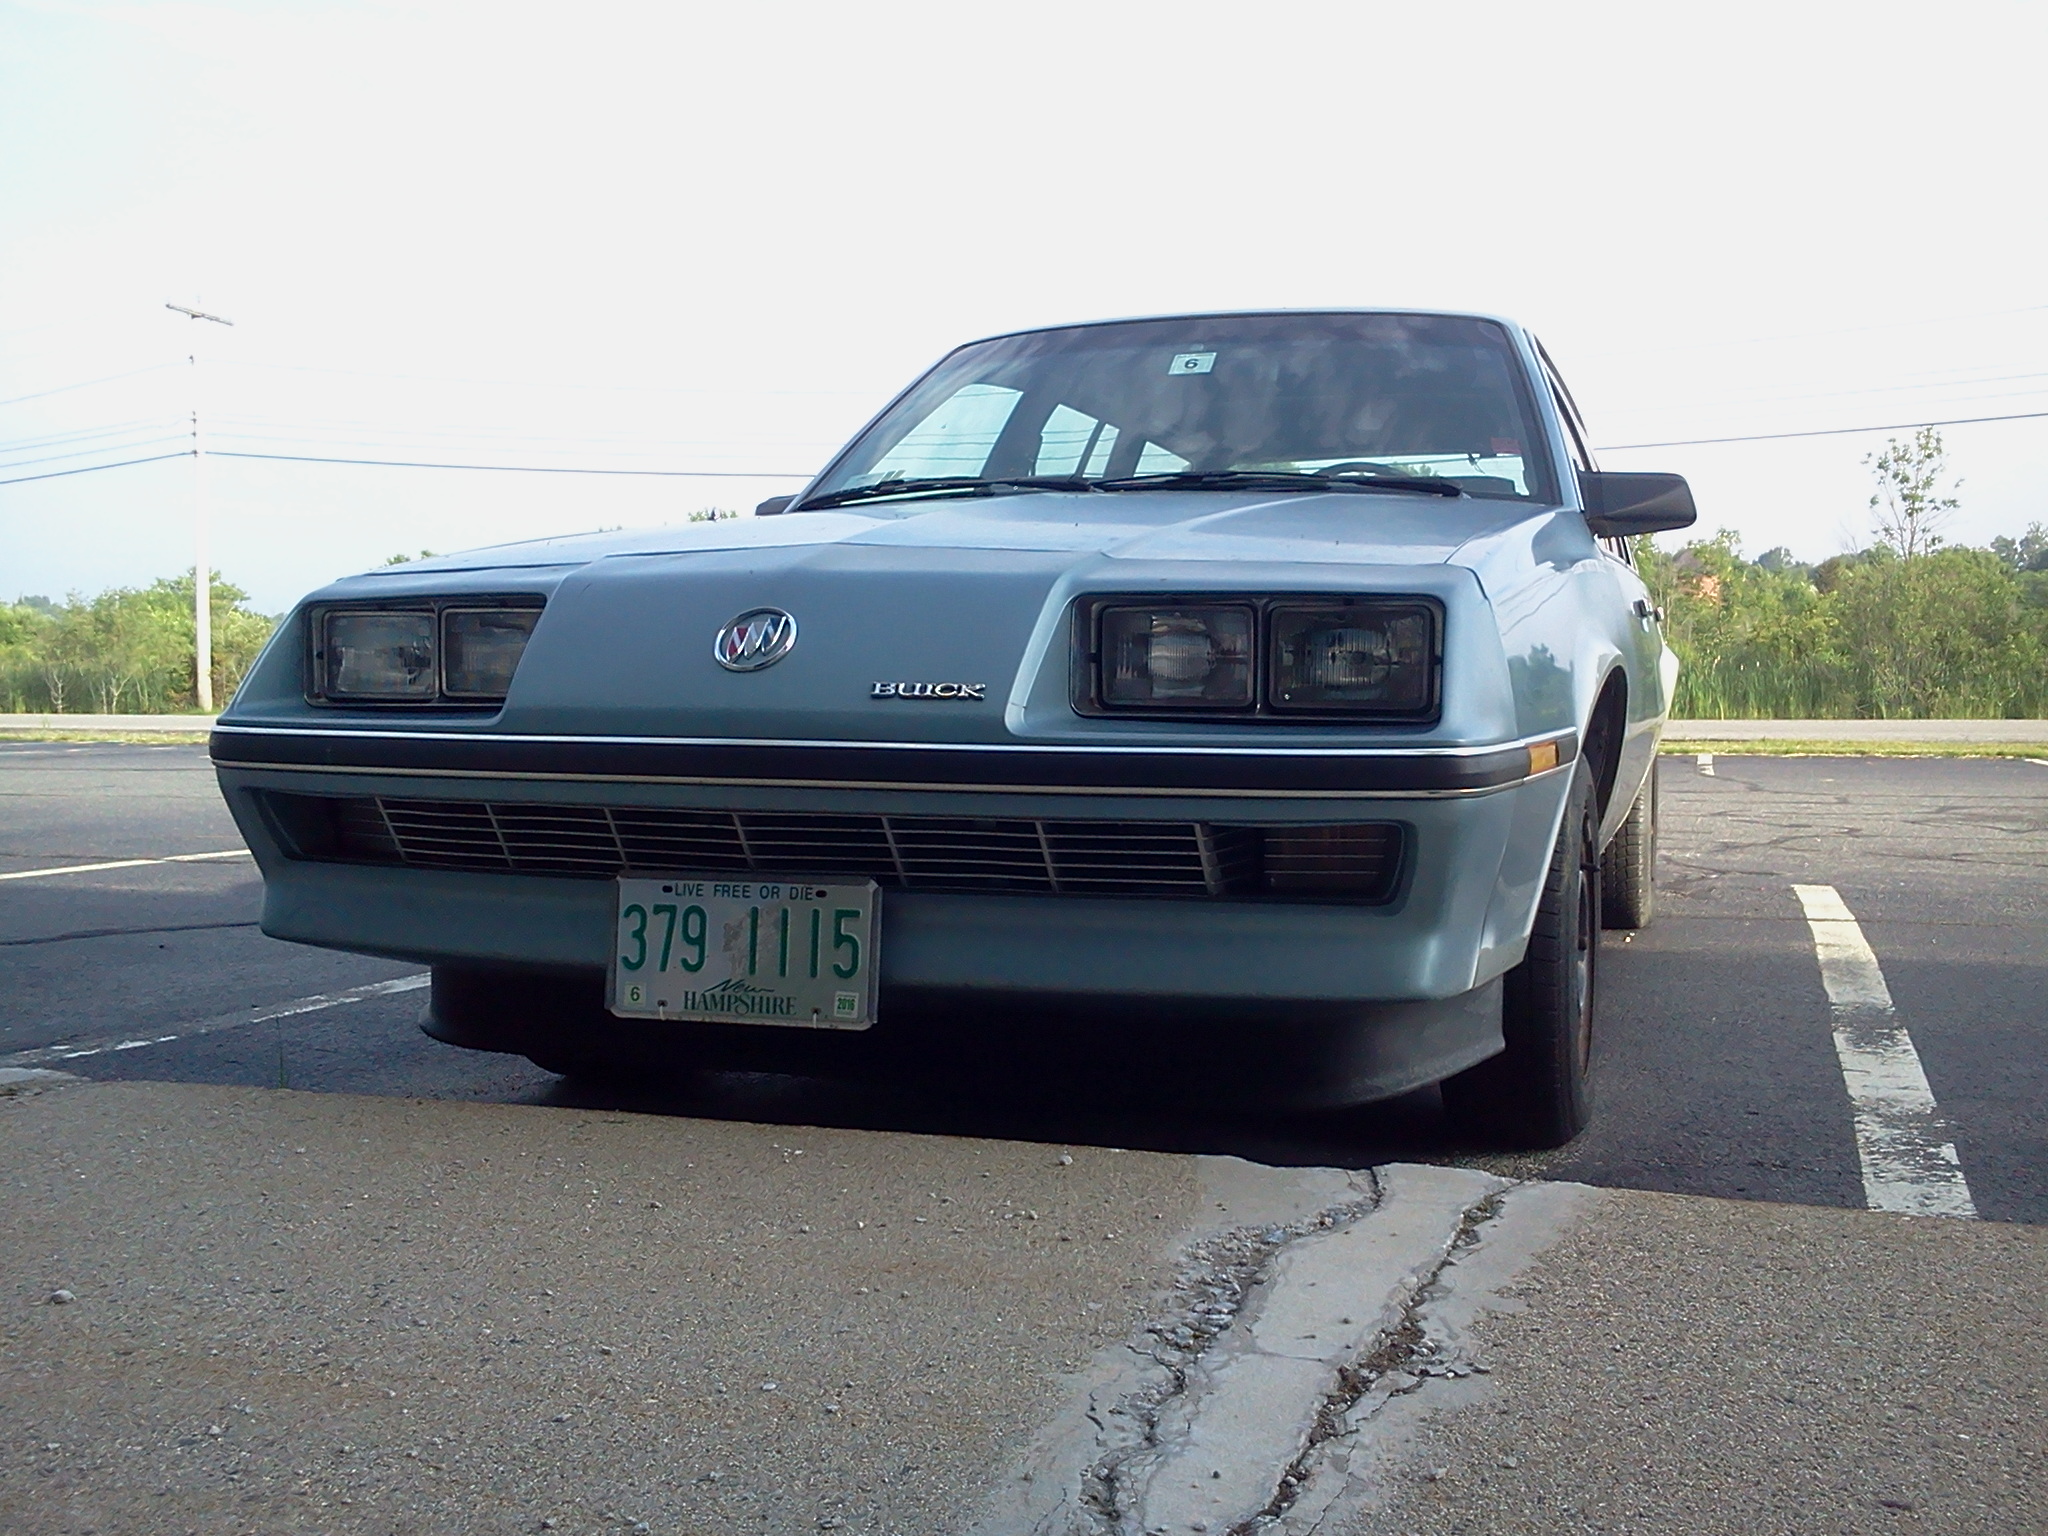
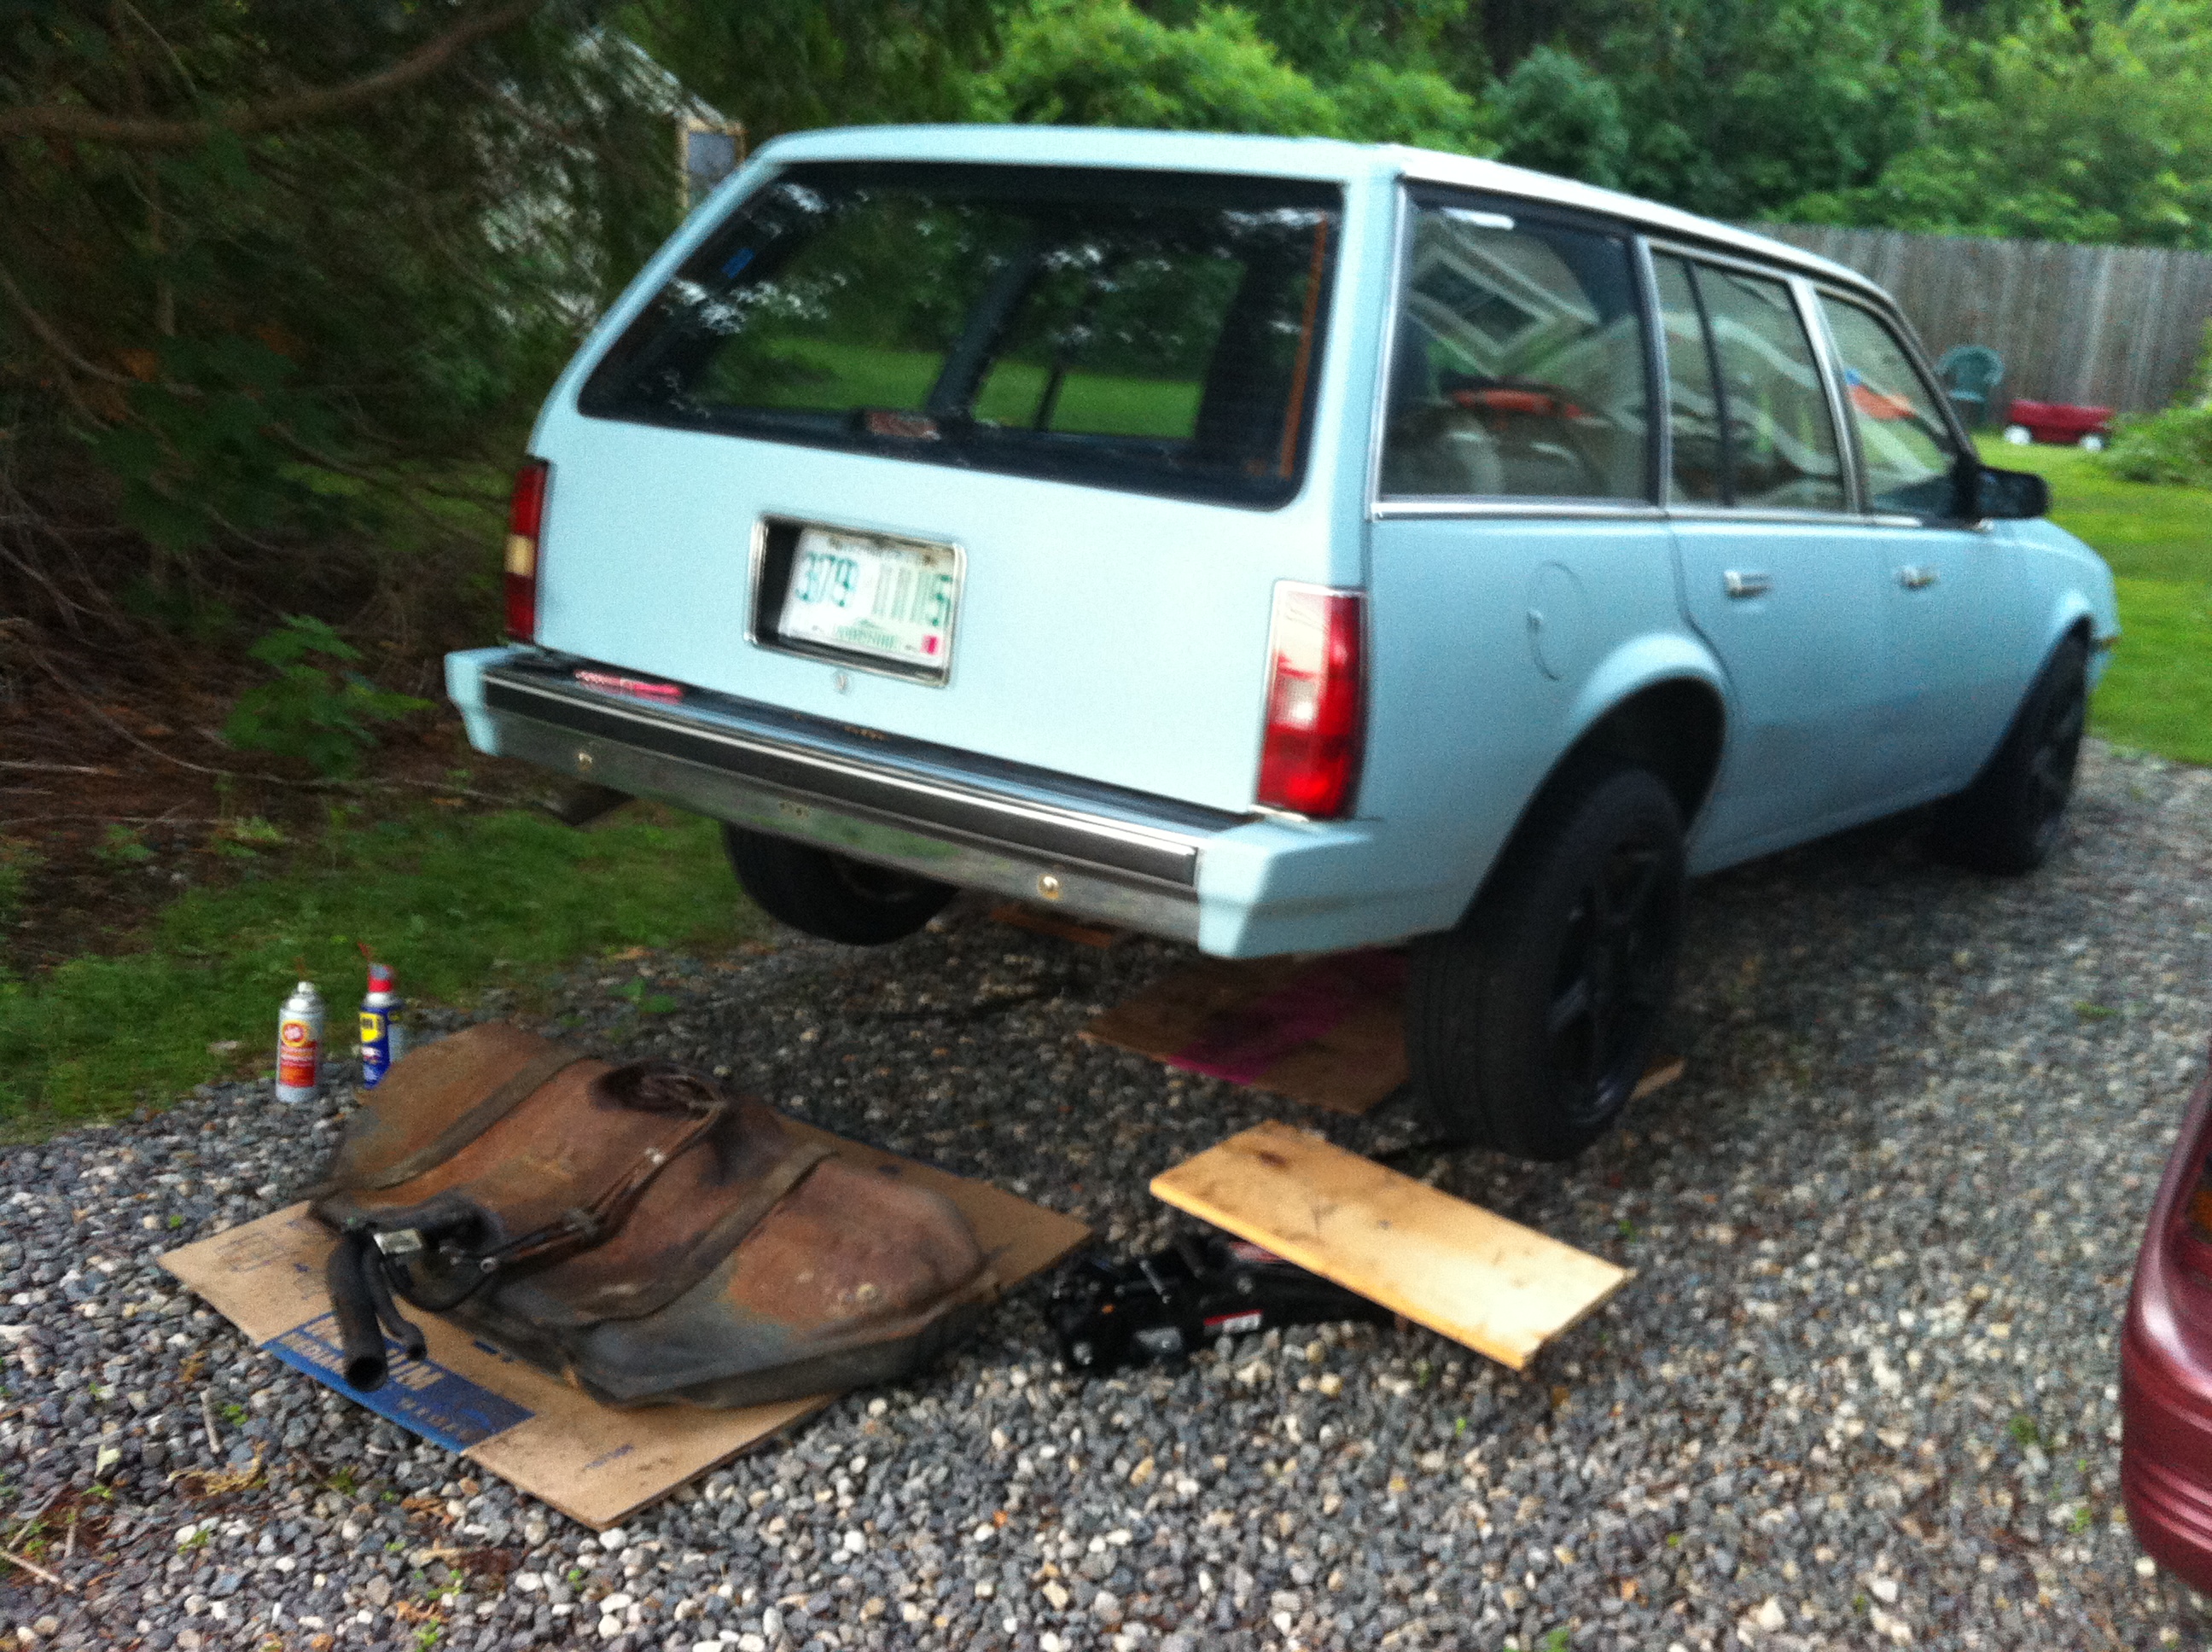
Once the suspension was all sorted out, I knew the exhaust was on the edge for inspection. It was getting pretty crusty in spots although the only hole I could find was in the exit pipe after the muffler. So of course, since the 2 door Sunbird had essentially become a parts car, the logical thing to do was to swap over the big fancy stainless exhaust I had built for it into the wagon. Easy! Well, there were several setbacks of course. First off, the merge of the header would not fit between the oil pan and the frame rail because the 1.8 uses a different oil pan than the 2.0. Back to the parts car, I grabbed the 2.0 oil pan and windage tray and swapped them on for clearance. This worked just fine and on a side note, using some Great Stuff gasket sealer all around the gasket has kept the oil pan from leaking all over like usual! I did end up having to clearance the rail a little bit so the header wouldn’t hit when the engine moves, but with the sturdier trans mount it has now, it may no longer be necessary, I’m not sure. After that, I had to figure out how to get the pipe to exit because the back bumpers are different and the existing straight-back would have ended up in the middle of the bumper. I briefly considered just cutting a hole in the bumper, but that rarely looks good. In the end, I cut an angle in the straight and welded it back on so that it points down and comes out right below the rear bumper in the back (see picture below.) The original curved around and came out the side behind the rear wheel, but that was too complicated to bother with. It’s louder, but nowhere near as loud as it was in the gutted Sunbird (earplugs.) I may see if I can quiet it a little, but it’s very tolerable. The original post about the exhaust system from shortly after it was built can be found here.

2016-05-15 15.03.23

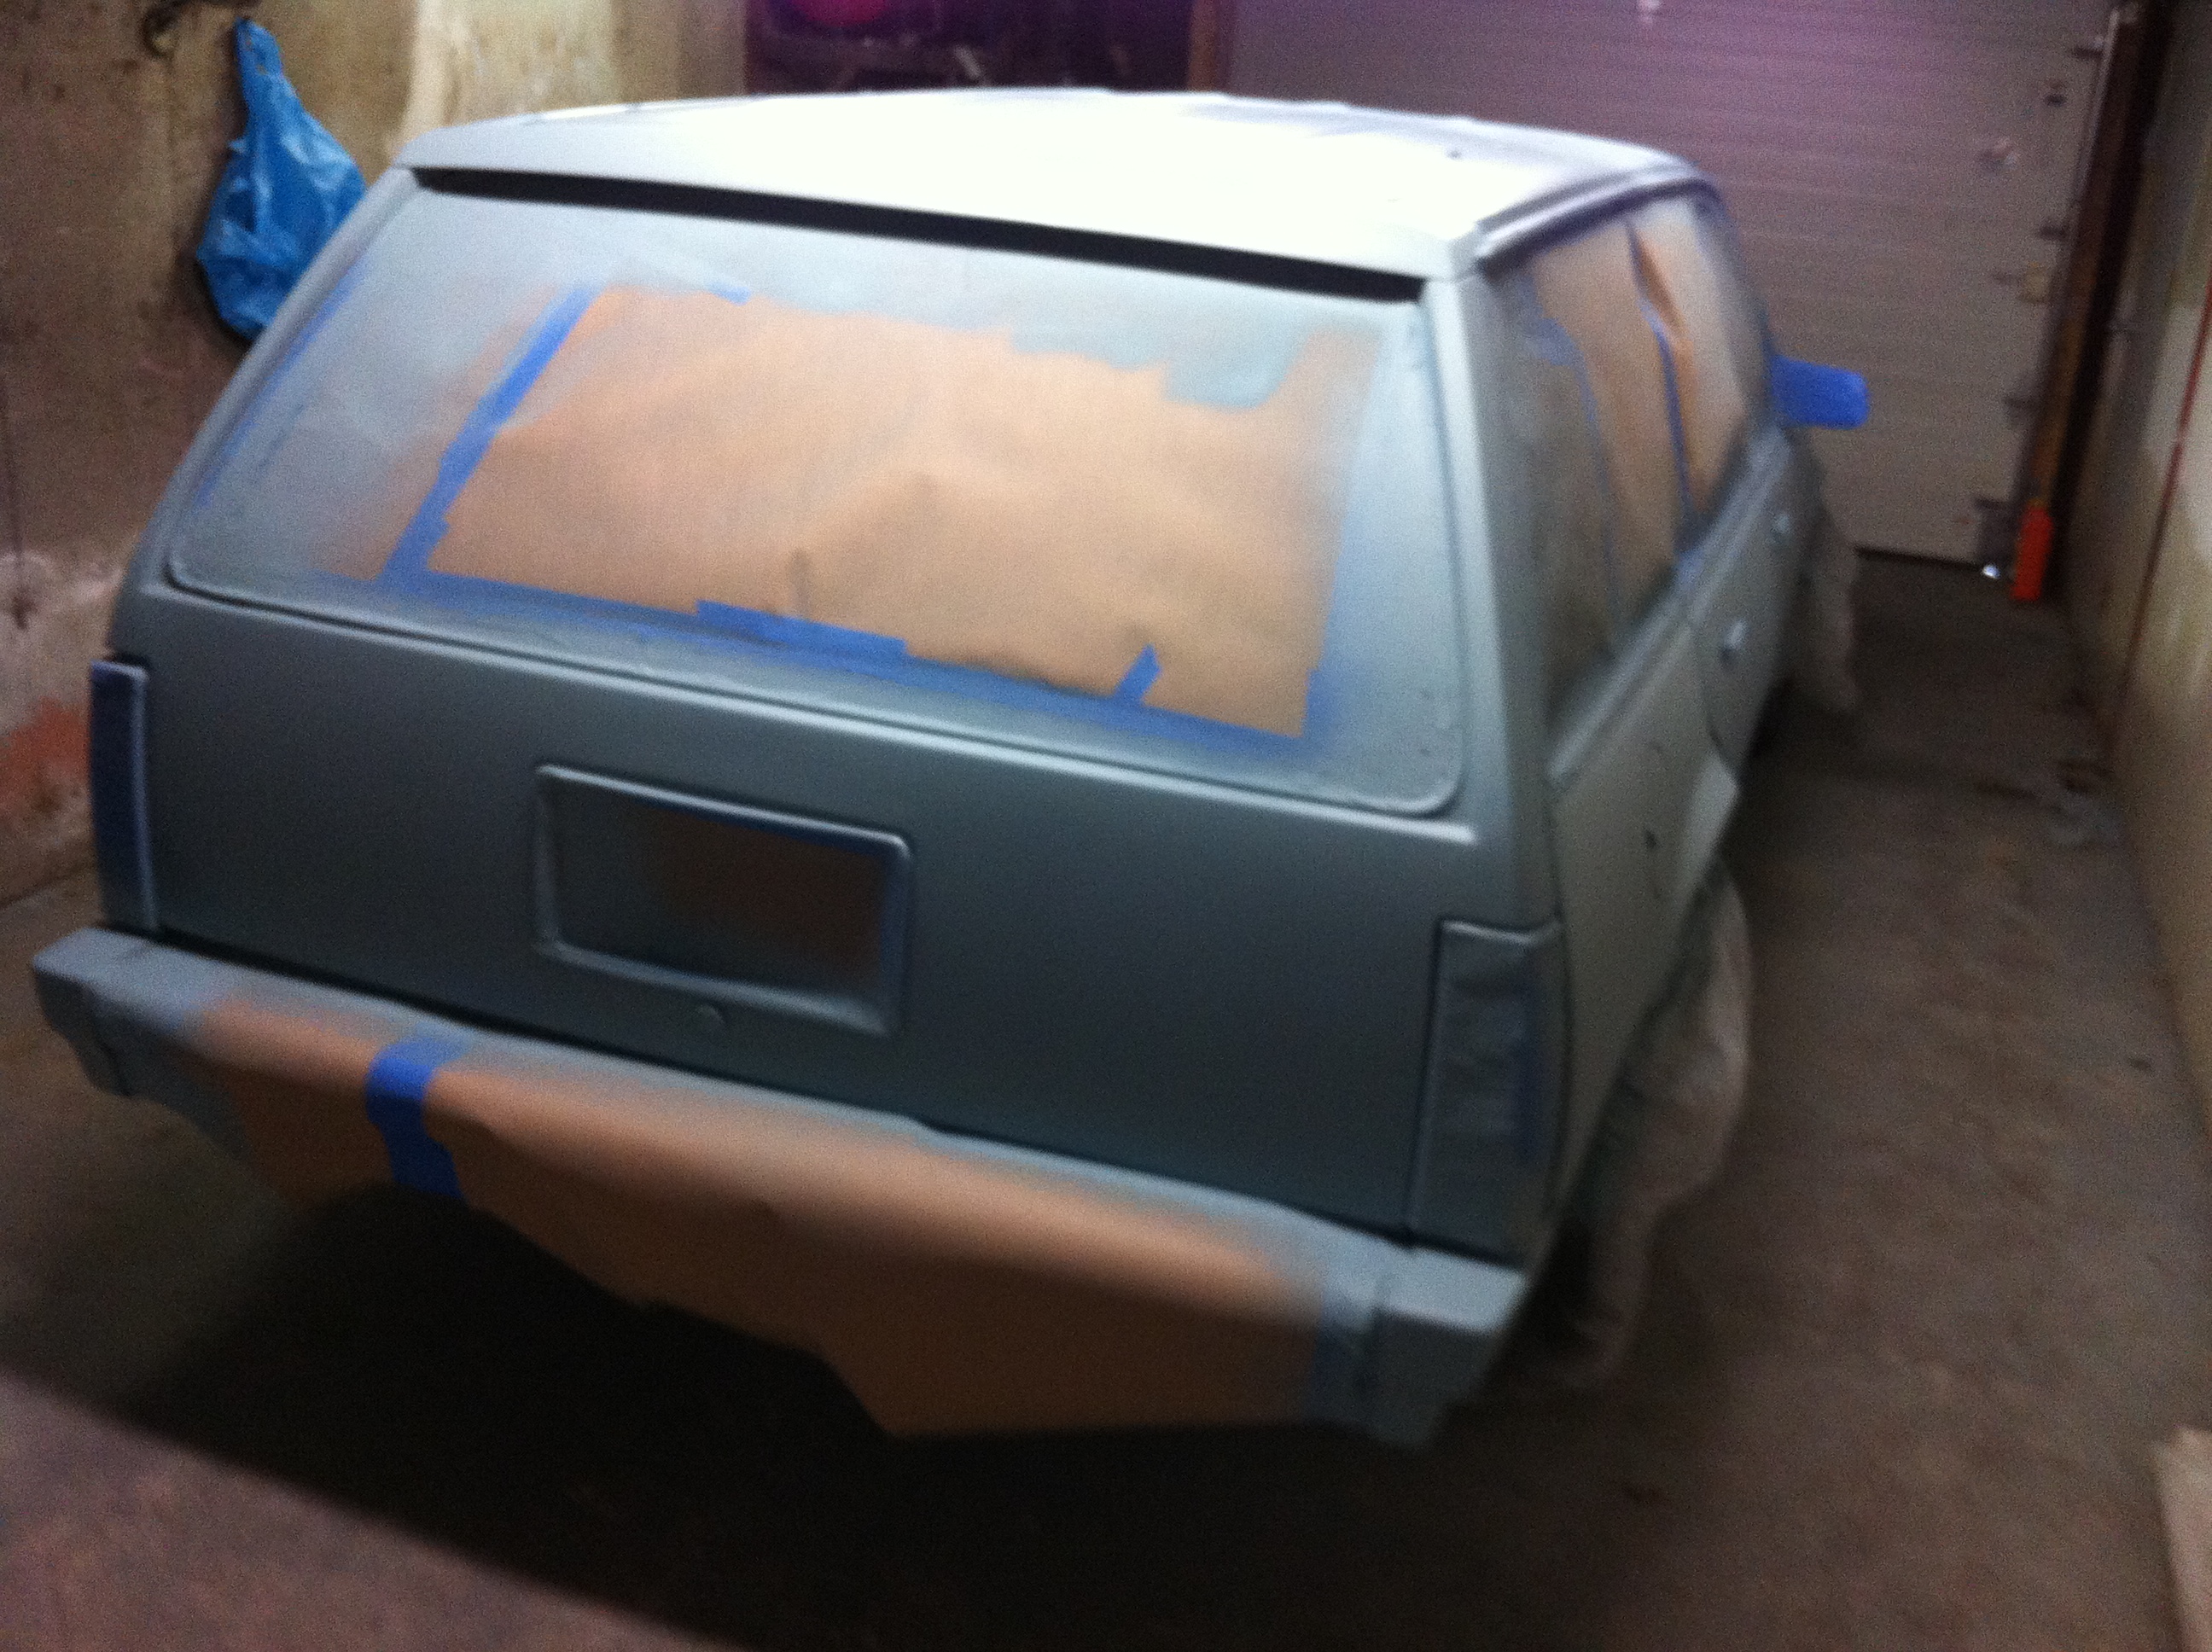
Finally, the other big project was fixing up the rocker panels which were crusty and one had a decent sized hole right ahead of the rear driver side wheel. This one I decided to send to a shop, so it happily was not another big project on my plate.

Present:
What’s going on right now? Right now there is a dead mouse somewhere in my driver side B pillar that does not smell very good. Other than that, working on wiring diagrams and getting things organized to start soldering in the pigtail for the Megasquirt. I am excited to finally use it to run something and pull it out of mothballs. This will be its third application; the first two got far enough to start and idle, but never really went into duty. Also just was inspected, so good for another year.

Future:
Where’s it going? I will detail this more in upcoming posts, but in short I’d like to convert it from TBI to EFI using Megasquirt, some old 2.0L parts, and a 1.8 turbo intake manifold. First will be getting Megasquirt working with the TBI, then the intake swap, retuning, then a cam swap. I’m hoping to go from 85 to around 120hp. Nothing crazy, but enough to make it a little more fun. That’s oversimplifying a lot; I’m sure there will be a lot of problems to overcome in between each step, but that’s part of the fun!

2016-05-15 19.08.30

Posted in 1986 Buick Skyhawk wagon | Leave a comment

Wagon wheels.

As previously mentioned, I picked up a set of used wheels for the wagon recently. It had 13″ steel wheels with 175/70/13s originally, and the new 16″ wheels have 195/55/16s … The tires (Sumitomo) are some inexpensive ones from Tire Rack and the wheels were found on craigslist. They were off a VW and advertised as Miglia 1000s (that’s what the center caps say) but found after a little research they are in fact discontinued Sport Edition F6s. They’re 7″ wide and the offsets are a little different, but they seem like they’ll work just fine! I sanded them up a little and sprayed them satin black. Got the tires mounted up and the same day hit a local cruise/car show. Anyway, here are some pictures, much improved over the 13s.


Posted in 1986 Buick Skyhawk wagon | 2 Comments

WIP: wagon in progress

It’s been a while since the last wagon update, mostly because it did a lot of sitting over the winter. Things are moving forward quickly though, and it is now registered, inspected, and driving! It’s the polar opposite of my regular daily driver 2 door Sunbird: quiet, smooth, comfortable, and yes a little slow. However, the 85hp is nowhere near as bad as the old Fairmont was … it feels pretty torquey down low and will get up and go ok.

It failed inspection the first go around because of a glued together tail light (the previous owner broke it, and glued it back together, saying, “It was like a jigsaw puzzle!”) So all I could find on short notice was a tail light from a Sunbird wagon, which I had to modify the connectors to fit the bulbs, switch the location of the backup lamp, and the mounting holes are surprisingly a small amount off. I didn’t want to ruin the tail light so I just used one of the mounting holes. It passed fine, but looks kinda goofy with two mismatched tail lights. The originals seem to be impossible to find. On the way are a set of 80s Cavalier lights from eBay, hoping that they will be close and won’t need much or any modifications to fit, and then it’ll be matched up again, or at least much better.

I’ve been chipping away at some of its needs over the winter including hatch and tailgate struts, front suspension and brakes, some cleaning, air filter, new battery, rear shocks, coating some rusty areas, and more. It really runs great and doesn’t seem to need anything in the engine department. I also drew and cut out some black vinyl Skyhawk decals which I think came out pretty good. I put one inside at the back of each of the rear side windows and Skyhawk letters-only in front of the 3rd brake light. I’ve already done the obligatory fan switch, but no TCC or temp gauge yet (very soon.) I just flip the fan on once I’ve been driving a while and am stopped or at low speeds. The big thing it needs still are the rocker panels replaced, which I keep not getting around to, and am debating farming it out. Finally did find a pair of rockers, but they are a little short and I think I’ll need a third to patch together and get to where the big hole is/was. I believe I have someone lined up to do it, but they are not ready yet and I decided to throw a quick and very ugly fiberglass patch over the one big hole to get inspected and then it will be fixed for real soon (or sometime before next inspection anyway.) I also picked up some new wheels for it, which I’ll post once I find some tires and everything is all done, and make sure they fit ok and all that.

There’s still lots more to do to get it all really fixed up, but I’m definitely enjoying driving it; even as is, it’s a great cruiser. It needs some more body work, to get painted, intermittent speaker cutout fixed and/or new radio, wheels and tires, has no headliner (may leave that for quite a while,) weld up roof rack holes, rust preventative everywhere, and who knows what else.


Posted in 1986 Buick Skyhawk wagon | Leave a comment

20SEH cam swap !

The Setup: The GM/Opel/Vauxhall SOHC 8 valve Family 2 engine is not popular in the US by any stretch of the imagination (except for possibly a handful of turbo LT3/C20GET fans,) particularly when it comes to modifications and upgrades, which means they’re pretty hard to find. In other parts of the world however, it does have a small following and is even still produced. The port injected US “LE4” is roughly equivalent to the European C20NE, but Europe got something the US did not: the 20SEH – which was essentially a C20NE with higher compression (from different pistons) and a hotter cam… The result was 130hp as opposed to the LE4’s 110. So taking into account the couple horsepower lost from the compression drop, the cam has the potential to add some power.

I was previously running a factory replacement Sealed Power CS838 cam (so any reference to the stock cam is to it.) The 20SEH has the same amount of lift, but more duration. I can’t find the duration for the CS838, but the 20SEH supposedly has 264 advertised duration (unconfirmed.) The duration difference was visible on the profile from cam to cam though. I didn’t degree it yet, and just installed it aligned with the marks along with my new adjustable cam pulley. Also, no tuning was done, so it’s still all factory computer, fuel pressure, etc. That could mean either it’s fine as is which would not be a bad thing, or there could be some room for improvement by setting it up properly.

First impressions on the 20SEH cam: It idles like stock and performs very similar to stock below 3k rpm.  Any difference is not very noticeable in this range. The powerband seems broader and higher, pulling considerably stronger from above 3k all the way up to 6k where stock flattened off much sooner. It does not feel like it adds much torque overall but maybe some up higher where the power gain is realized. All in all I think it was a very worthwhile swap and seems great for a daily driven street car, giving it a little extra something and the computer seems happy enough with it. To anyone thinking of trying it out, I’d say don’t expect miracles from the swap, but considering the fact that few modifications exist at all for this engine, let alone inexpensive (about $125 shipped) and relatively easy ones like this, it’s worth it.  I’m interested to see what playing with cam timing and eventually some tuning will do for it.

Swap notes: It took me a fair amount of research, time, and reading to figure out if this would even work, like if the cam carrier diameters were different between US and European models, other differences, if they were available at all, how to get one to the US, and so on.  So where can you get a 20SEH cam you ask? The secret is if you simply put “1990 vauxhall cavalier 2.0l l4 sohc” into rockauto, they carry two different brands of 20SEH cam and will ship them right to your door from the UK. The first is the AE CAM429 which is what I went with and the second is the BGA CS5336 (add K for rockers and FK for rockers and lifters for around $280 shipped.) Obviously you should put in new followers/rockers when you swap, but it may be cheaper to get some locally. Another secret is if you can find the SBI 180-1028 followers, they are forged and higher quality than most of the standard ones. I have a set for my aftermarket cam that I’m saving for a rebuild, but just put in some generic ones for this swap. A couple more things to note are, I don’t think the 20SEH cam is machined to accept a distributor, so if you are using one, it would have to be modified. Also I had a  minor problem with my rocker removal tool, so I’ll be doing a new post soon with an improved version. The short version is, it was kicking a lash cap off the valve due to not being able to stay perfectly straight. It was only a problem on the last follower for some reason.

Other stuff: The other thing I did at the same time is finished up and installed my adjustable two piece vernier pulley, after the demise of the one piece one. A while ago, I also replaced my fuel feed line when it started leaking with nylon line and AN fittings using some adapters I designed and made. I may do a post dedicated to what’s involved with all that once I do the return side. I also attended a large cruise/car show within a few hours of finishing up the cam swap, which was pretty fun. It was mostly classics, hot rods, and muscle cars, and someone said to me that they liked my car and it was very different, but “this sort of thing isn’t really ‘accepted’ here.” Not in a negative way, just that it’s not the norm. It was funny. I need to make a post of all the random comments I get about the car one day. That is all for now, hope it’s been informative!

Edits: random addition; I believe I’m the only person in the states who has done this particular cam swap before as far as I’ve been able to tell…
Also forgot to mention that I have been running 93 octane before and after the swap to be on the safe side.

Posted in 1993 Pontiac Sunbird coupe | 1 Comment